Node
For an overview of clusters and nodes, refer to here. In Settings > Cluster > Node (tab), you can view the list of nodes/node pairs that make up the Logpresso cluster and register nodes necessary for cluster configuration.
View Node Pair List
You can view the node pair list in Settings > Cluster > Node (tab).
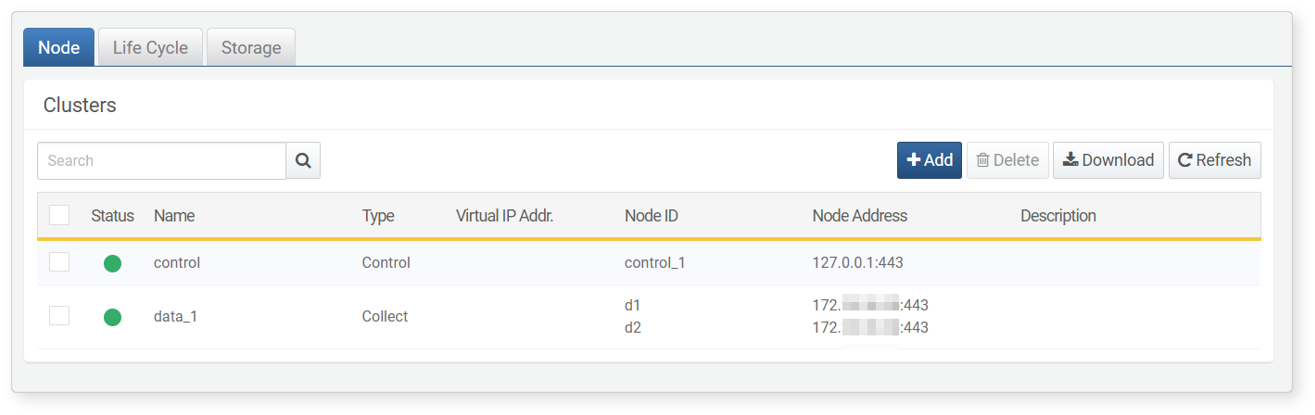
The information displayed in the node pair list includes:
- Status: Connection status of the server (green: connected, gray: not connected)
- Name: Unique name of the node pair
- Type: Role of the server (one of Control Node, Data Node, Forwarder)
- Virtual IP Address: The virtual IP address shared by Node A and Node B that make up the node pair
- Node ID: Identifier for Node A (row 1) and Node B (row 2)
- Node Address: IP addresses and port numbers for Node A (row 1) and Node B (row 2)
- Description: Description of the node pair
To find a specific node pair or node in the node pair list, use the search tool in the toolbar. The search tool finds node/node pairs that contain the entered term in the Name or Node ID. The search tool is not case-sensitive.
Download Node List
To save the node pair list to your local PC, click Download in the toolbar and select the desired file format for download.
Refresh Node List
To refresh the node pair list with the latest information, click Refresh in the toolbar.
Add Node Pair
A node pair is the basic configuration unit of a tier that makes up the cluster. A node pair consists of two nodes. You can register one node initially and add another node later.
To add a new node pair to the cluster node:
-
Click Add in the toolbar under Settings > Cluster > Node (tab).
-
In the Add Node screen, configure the Basic Settings. The basic settings consist of identification information for the node pair and properties related to REST API access.
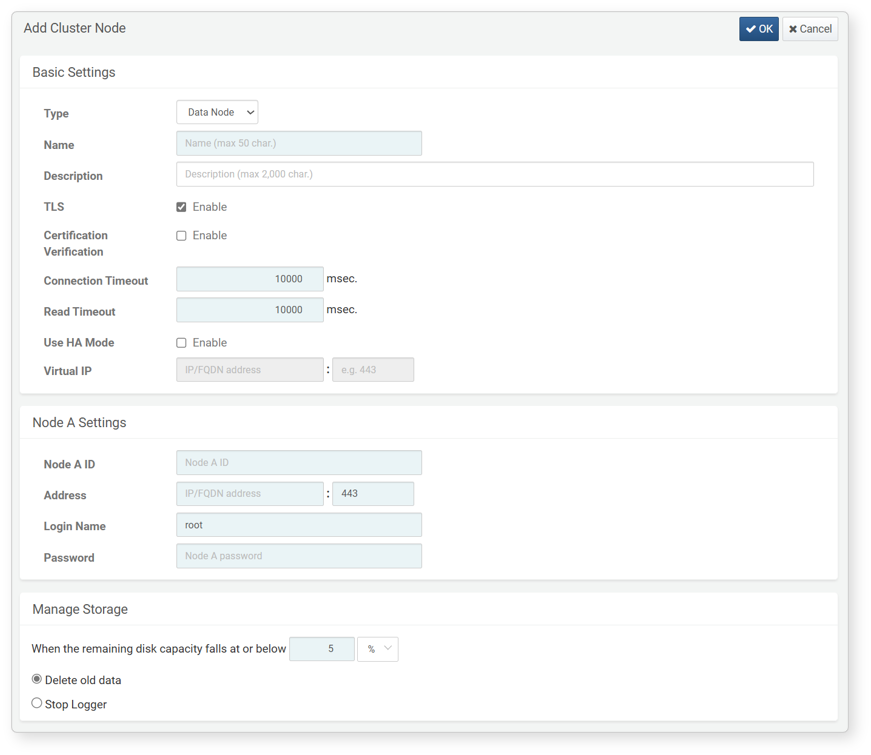
- Type: Role type of the node pair (one of Data Node, Control nodw, Forwarding Server)
- Name: Unique name identifying the node pair (up to 50 characters). A concise name is recommended as it will be used in Logpresso queries.
- Description: Description of the node pair (up to 2,000 characters)
- TLS: Whether to apply TLS for REST API communication between nodes (default: enabled)
- Certification Validation: Whether to validate the TLS certificate (default: disabled). Uncheck this box if you want to use a private certificate from Logpresso Sonar.
- Connection Timeout: Maximum wait time after a client attempts to connect to the server (default: 10,000 milliseconds).
- Read Timeout: Maximum wait time for the client until the server responds (default: 10,000 milliseconds). Since heartbeat packets are sent every 2 seconds, consider network communication delays and GC time when setting this.
- USE HA (High Availability) Mode: Whether to use node redundancy (default: disabled). This option must be checked to set Virtual IP and Node B.
- Virtual IP: The virtual IP address and port for the node pair. This must be entered to enable redundancy for control nodws and forwarder nodes. Enter port 443 for control nodws and port 8443 for forwarder nodes.
NoteThe virtual IP must not overlap with the IP addresses of Node A and Node B. Enter the IP address that both nodes will share.
-
Enter the required properties in Node A Settings and Node B Settings. The Node B Settings can only be entered if Use HA Mode is selected in the Basic Settings.
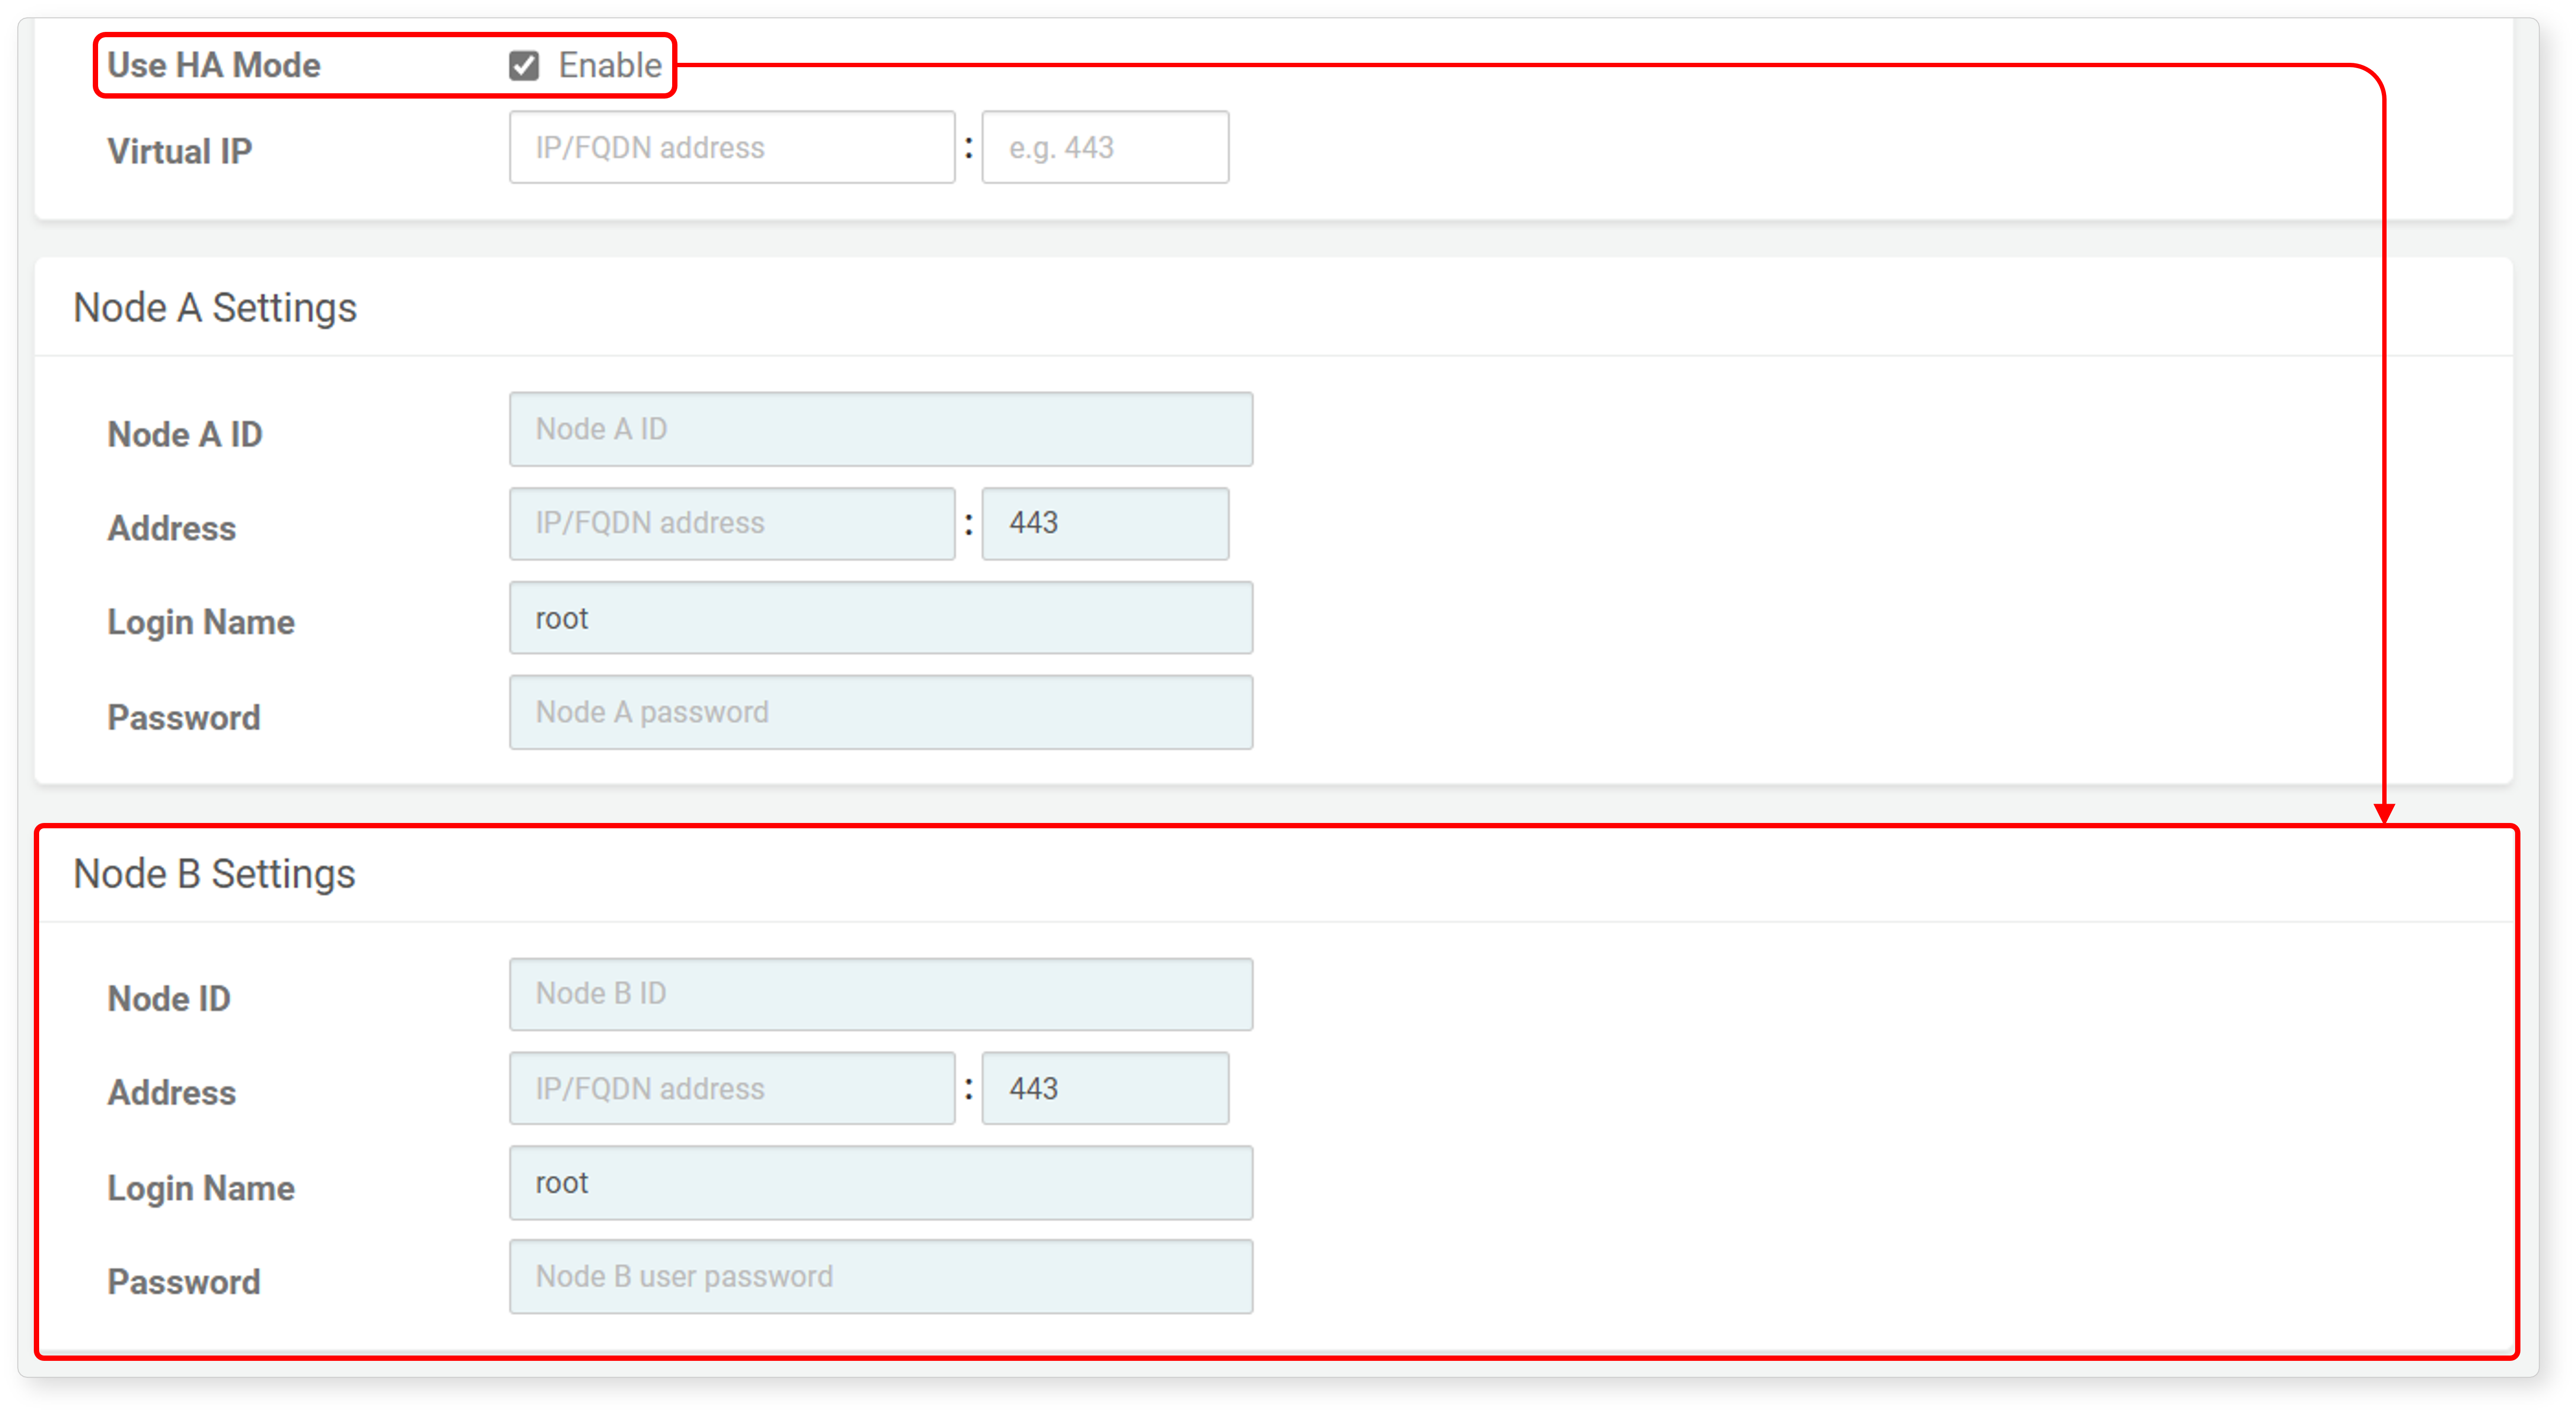
- GUID: The GUID of the node that is automatically generated. The GUID will not be displayed when adding the node but can be confirmed afterward.
- Node ID: Unique name of the node. It must consist of letters and numbers and be unique across the entire cluster.
- Address: Actual IP address or domain address of the node along with the communication port (default: 443). Enter port 443 for control nodws and port 8443 for data/forwarder nodes.
- User Name: Node synchronization account ID
- Password: Node synchronization account password
-
Verify that the entered settings are correct and click OK. If you do not wish to add the node pair, click Cancel.
Edit Node Pair
To modify the properties of a node pair, add Node B to a node pair that only has Node A registered, or delete the added Node B:
-
Click the Name of the node pair you wish to modify in the node pair list.
-
In the Edit Cluster Node screen, change the properties as needed. For the properties to be entered, refer to Add Node Pair.
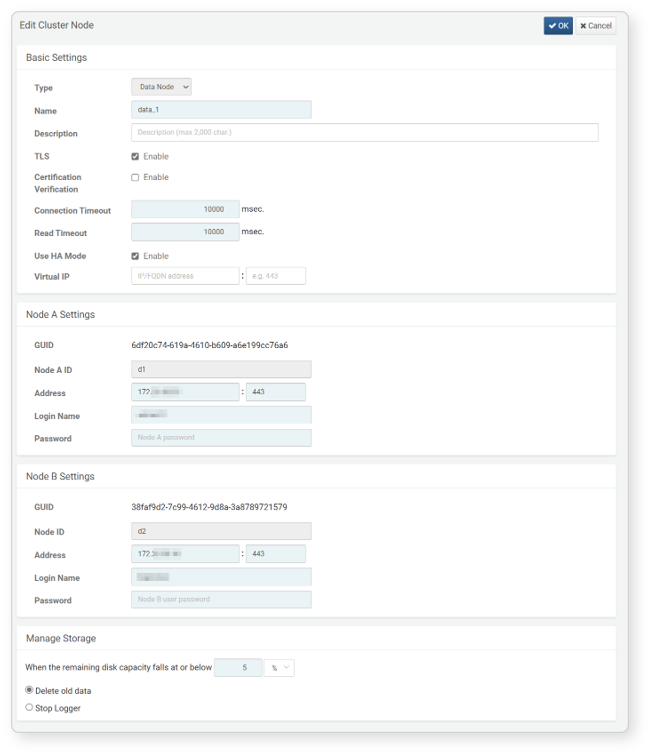
- The Type of the node pair, as well as the GUID and Node ID of Node A and Node B, cannot be changed.
- If you do not wish to use Node B, do not check Use HA Mode.
-
Verify that the entered settings are correct and click OK. If you do not wish to modify the node pair, click Cancel.
Delete Node Pair
To delete an added node pair:
-
You cannot delete a node if there are active loggers running on it. Check if there are any running loggers on the cluster node you wish to delete.
-
If there are no active loggers running on the node to be deleted, select the checkbox next to the Status of the node and click Delete in the cluster node toolbar.
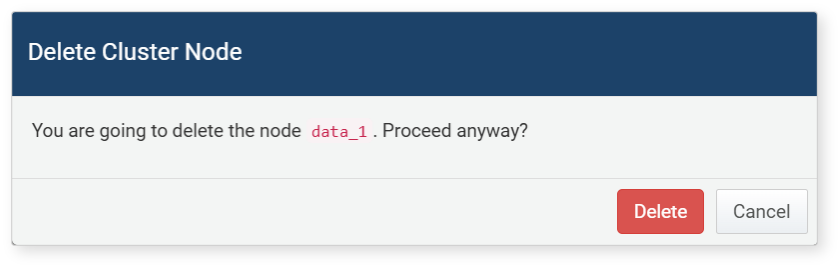
-
In the Delete Cluster Node dialog, confirm the name of the node to be deleted. Click Delete to proceed with the deletion, or click Cancel if you do not wish to delete it.
Storage Management
When adding or modifying a node pair, select the necessary properties for managing the storage space of the node pair in the Manage Storage section.

- Specify the minimum free space. Actions will be taken when the free space falls below the specified capacity.
- The minimum free space can be specified in percentage (%) or MB (default: 5%).
- When specified as a percentage, the default is 5%, with a valid range of 1 to 50%.
- When specified in MB, the default is 100MB, with a valid range of 100 to 9,999,999,999MB.
- Delete Old Data First (default setting): When free space falls below the specified value, old data will be deleted to free up the specified amount of space.
- Stop Logger: When free space falls below the specified value, data collection will be halted. This setting can be used in a single-tier cluster where the control node also performs data node functions, or in a two-tier data-control model where the data node directly collects data.