Employees
Overview
When a security event detected by Logpresso Sonar is related to members of the organization, and it is necessary to investigate the context of the event directly with those individuals. Admin can request explanations from the involved employees using "Explanations" and employee management features.
Most organizations follow a tree structure based on departments. The Employees menu reflects this structure, allowing you to manage both employee information and their department details in one place.
Employee and Department List
The list of employees and departments can be viewed under Users > Employees.

Initially, there may be no departments or employee information configured in the system.
Manage Department
Add Department
To add a department to the department list:
-
Click Add above the department list.
-
In the Add Department dialog, enter the department information and click OK. Click Cancel if you do not wish to add a department.

- Department Name (Required): The name of the department
- Description: A description of the department
- Parent Department: If no parent department is specified, the added department will become the top-level department of the organization. There can be more than one top-level department.
- Department Lead: The lead of the department. The department lead will be the primary reviewer for explanation requests related to employees in that department. For more details, refer to Explanations.
Edit Department
To edit department information:
-
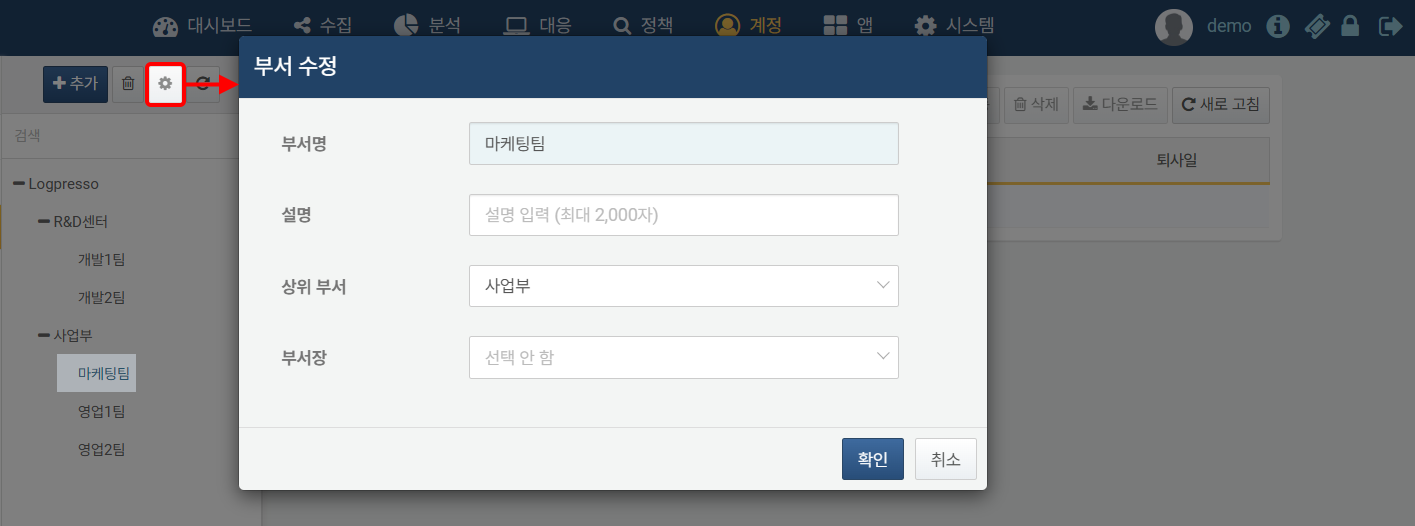
Click on the department you wish to edit in the department list.
-
Click the gear icon above the department list.
-
In the Edit Department dialog, make the necessary changes and click OK. Click Cancel if you do not wish to modify the department.
Delete Department
To delete a department from the department list:
-
Click on the department you wish to delete in the department list.
-
Click the trash can icon above the department list.
-
In the Delete Department dialog, review the selected department and click OK. Click Cancel if you do not wish to delete the department.
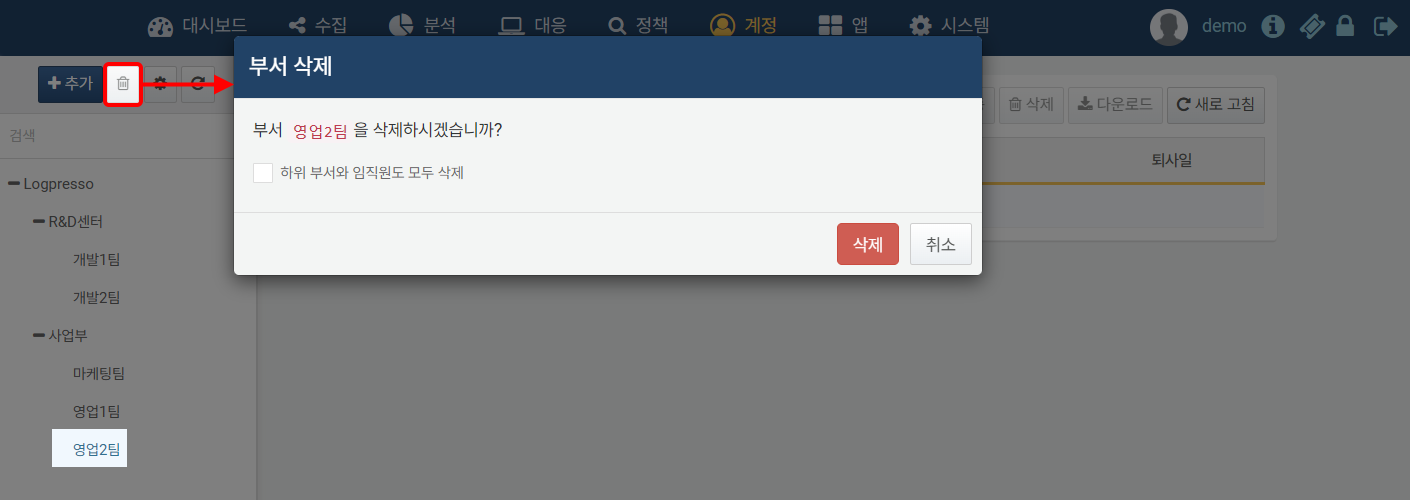
- Checking Also delete all sub-departments and employees will delete all sub-departments and employee information as well.
- If you delete a department without checking Also delete all sub-departments and employees, all sub-departments and employee information will be moved to the parent department.
Manage Employee
Search for Employee
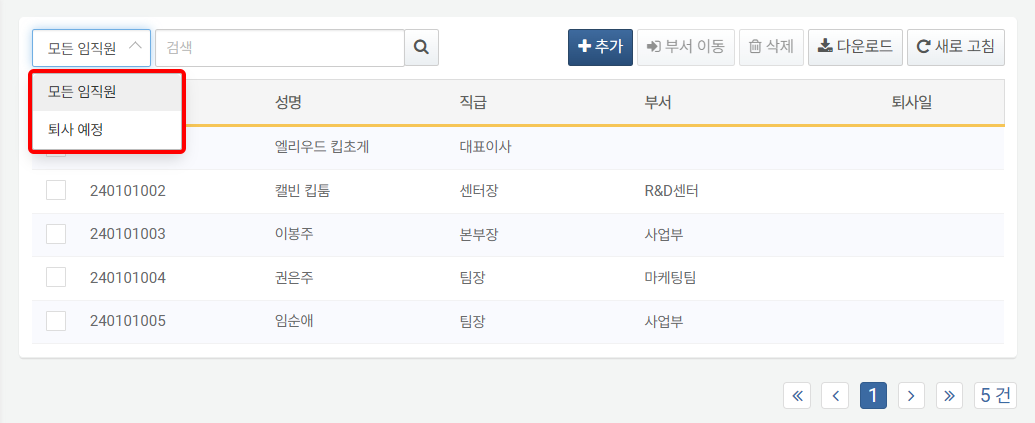
To find a specific employee in the list, use the search tool in the toolbar. You can filter the search to show either all employees or only those who are about to leave (Departing employee). The search tool will find employees whose Employee ID or Name contains the entered keywords. The search tool is not case-sensitive.
Add Employee
To add an employee:
-
Click on the department where you want to add the employee. If you do not select a department, the employee will be added without department information.
-
Click Add in the toolbar.

-
In the Add Employee page, select or enter the employee information. Properties marked in sky blue are required fields.
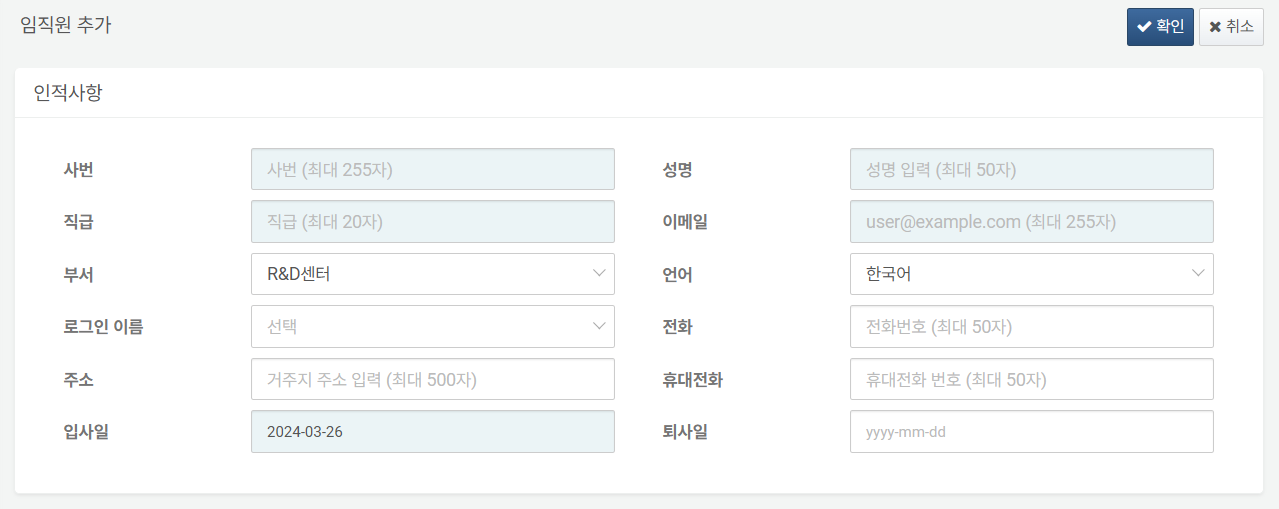
- Personnel Number: The employee's personnel number
- Full Name: The employee's full name
- Position: The employee's job title
- Email: The employee's email address. This will be used to send explanation request emails to the employee.
- Department: The employee's department. If a department has already been selected, it will be pre-selected.
- Locale: The language to be used for explanation requests and other communications sent by Logpresso Sonar. Choose from Korean, English, or Chinese.
- Username: Select the username from the list.
- Telephone: The employee's phone number
- Address: The employee's residential address
- Mobile: The employee's mobile phone number. This will be used to send SMS explanation requests to the employee.
- Join At: The employee's date of joining. The current date will be entered by default.
- Leave At: The employee's date of leaving or expected leaving date. If a leaving date is entered, the employee will be classified as a departing employee.
-
If the entered information is correct, click OK. Click Cancel if you do not wish to add the employee.
Edit Employee
To edit employee information:
-
Click on the Personnel No. or Full Name of the employee.

-
On the Edit Employee Information screen, update the necessary employee details.
-
If the changes are correct, click OK to save them; Click Cancel to discard the changes and exit without updating the information.
Delete Employee
To delete an employee from the list:
-
Select the checkbox of the row containing the employee information you wish to delete.
-
Click Delete in the toolbar.

-
In the Delete Employee dialog, review the list of employees to be deleted and click Delete; Click Cancel if you do not wish to delete.
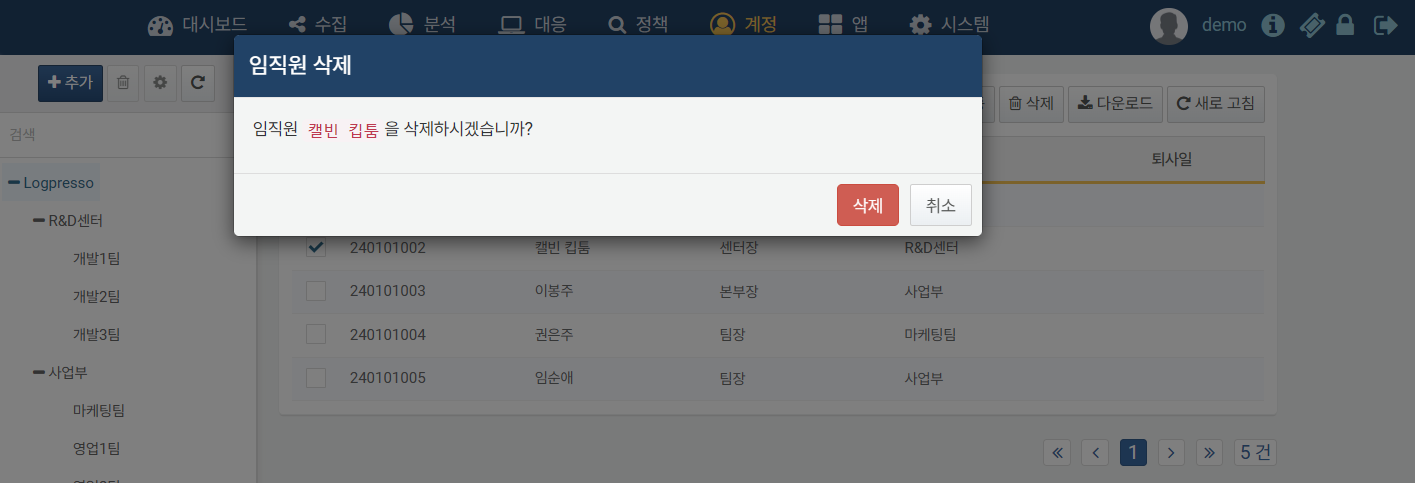
Even if an employee is deleted, related information remains intact. For example, the history of explanation requests assigned to the employee will still be preserved.
Transfer Employee
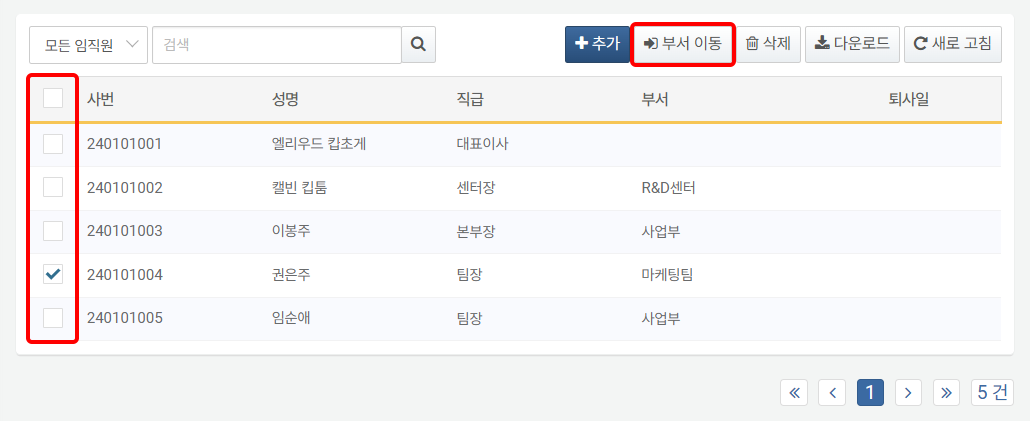
To move an employee to a different department, you can either edit the employee information or use the MOVE option in the toolbar on the employee list screen.
To change the department of a specific employee in the employee list:
-
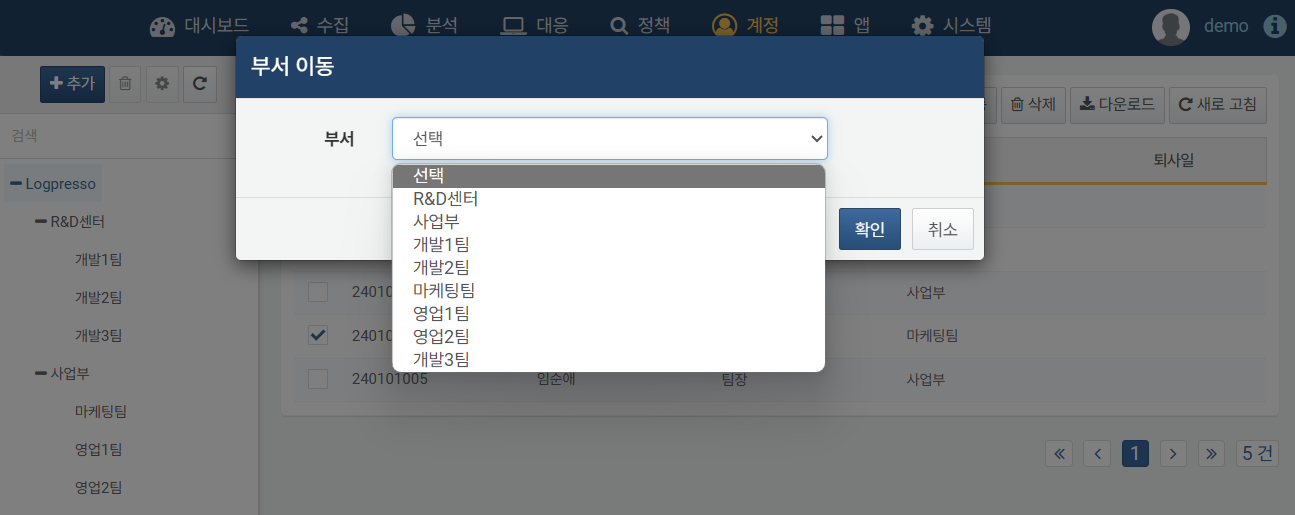
Select the checkbox of the row containing the employee information whose department you wish to change and click Move in the toolbar
-
In the Move to Different Department dialog, choose the target Department and click OK to confirm. Click Cancel if you do not wish to proceed with the transfer.