Employees
Overview
When a security event detected by Logpresso Sonar is related to members of the organization and you need to investigate the context of that event, you can request explanations from the involved employees via email or SMS. This workflow relies on the "Explanations" feature together with the Employees management feature.
For example, when a large-volume data exfiltration event is detected, you can request an explanation from the employee associated with that IP address and configure the department lead as the primary reviewer, creating a structured incident response workflow. Registering each employee's email address and mobile phone number enables automatic delivery of explanation requests via email or SMS.
Most organizations follow a tree structure based on departments. The Employees menu reflects this structure, allowing you to manage both employee information and their department details in one place.
Adding, editing, deleting, and transferring employees requires administrator privileges. All users can view the employee list.
Employee and department list
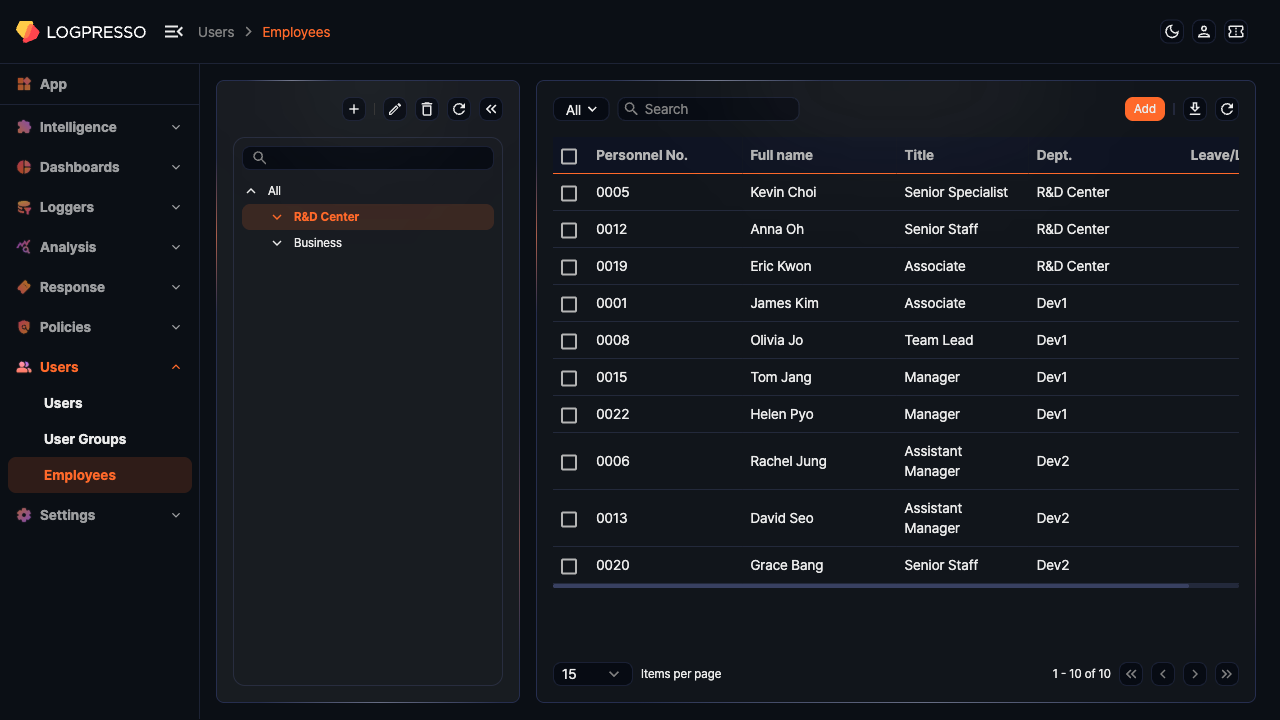
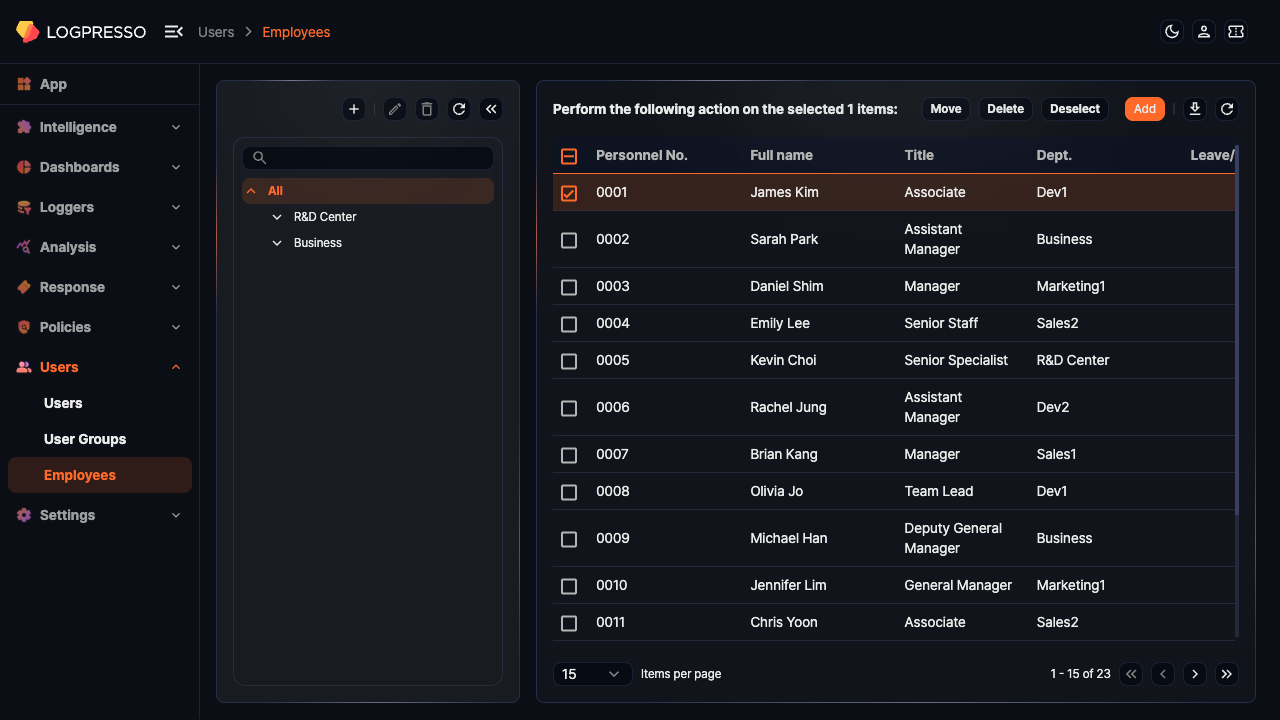
The list of employees and departments can be viewed under Users > Employees. The department tree appears in the left sidebar. Drag the border between the department tree and the employee list to adjust the sidebar width. Drag it far enough to the left to minimize the tree when department names are truncated, or when you want to expand the employee list. When first opened, the tree shows only the top-level node expanded; click a node to expand its sub-departments when needed.
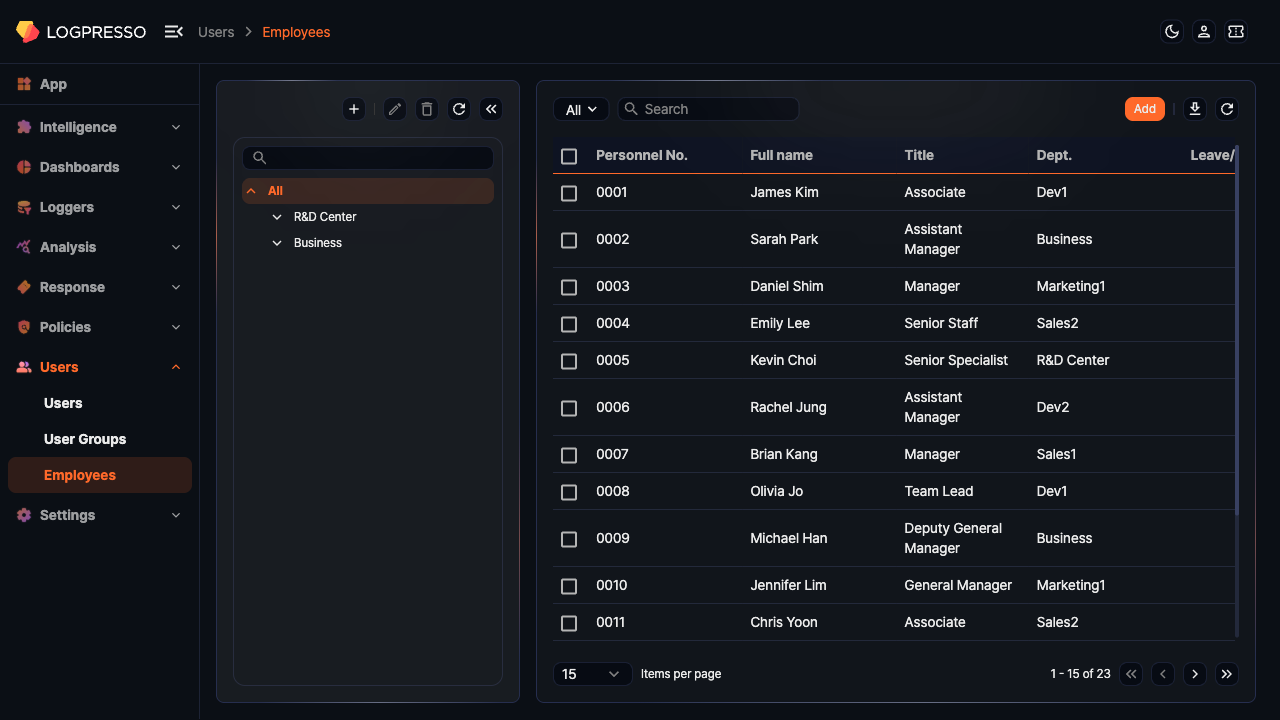
Initially, there may be no departments or employee information configured in the system.
The list displays the following information:
- Personnel Number: The employee's personnel number
- Full Name: The employee's name
- Position: The employee's job title
- Department: The employee's department
- Leave Date: The employee's departure date or expected departure date
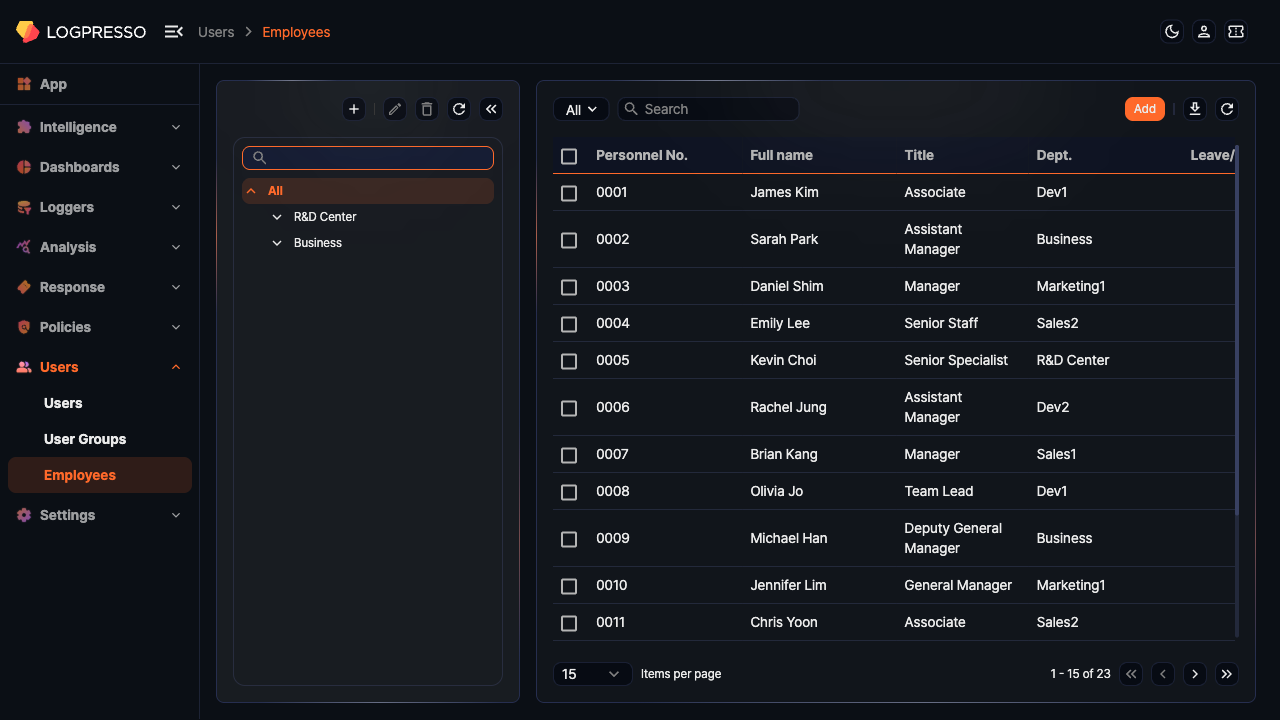
Search for employees
To find a specific employee in the list, use the search tool in the toolbar. You can filter to show all employees or only departing employees. The search tool finds employees whose Personnel Number or Full Name contains the entered keywords. The search is not case-sensitive.
Manage departments
Add a department
To add a department to the department list:
-
Click
 above the department list under Users > Employees.
 -
In the Add Department dialog, enter the department information and click OK. Click Cancel to discard.

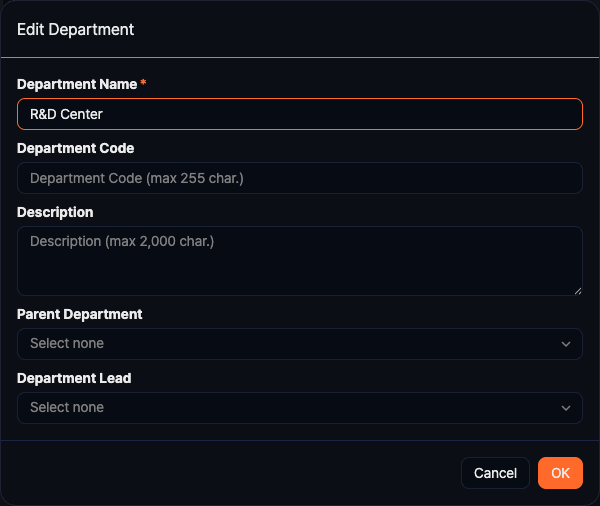
- Department Name (required): The name of the department (up to 50 characters)
- Department Code: The department code used in external systems such as an HR system (up to 255 characters)
- Description: A description of the department (up to 2,000 characters)
- Parent Department: If no parent department is specified, the new department becomes a top-level department. There can be more than one top-level department.
- Department Lead: The lead of the department. The department lead becomes the primary reviewer for explanation requests related to employees in that department. For more details, refer to Explanations.
Edit a department
To edit a department:
-
Click on the department you want to edit in the department list under Users > Employees.
-
Click
 above the department list.
 -
In the Edit Department dialog, make the necessary changes and click OK. Click Cancel to discard.
Delete a department
To delete a department:
-
Click on the department you want to delete in the department list under Users > Employees.
-
Click
 above the department list.
 -
In the Delete Department dialog, verify the selected department and click OK. Click Cancel to discard.
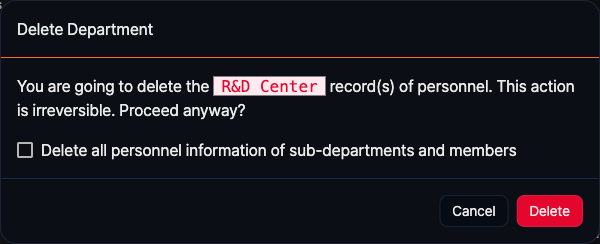
- Checking Also delete all sub-departments and employees deletes all sub-departments and employee records as well.
- If you delete a department without checking Also delete all sub-departments and employees, all sub-departments and employee records are moved to the parent department.
Add an employee
To add an employee:
-
Click on the department where you want to add the employee in the department list under Users > Employees. If you do not select a department, the employee is added without department information.
-
Click Add in the toolbar.
-
In the Add Employee panel, select or enter the employee information. Fields highlighted in sky blue are required.
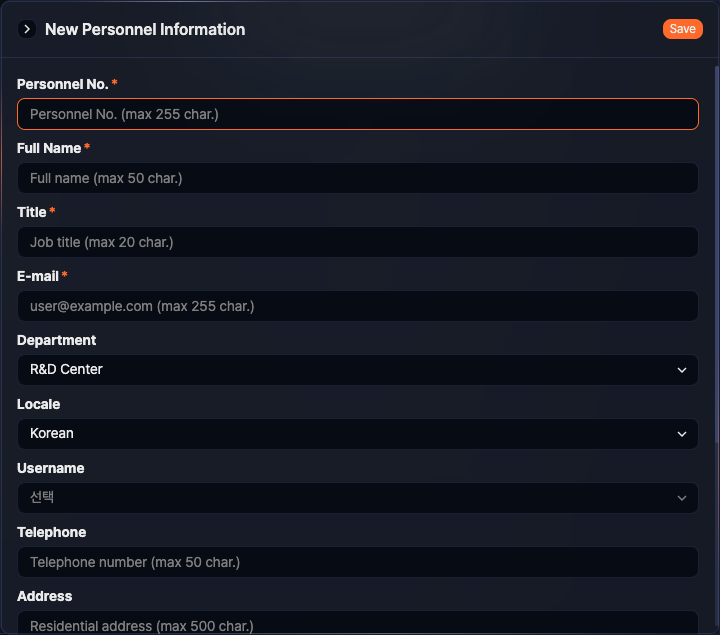
- Personnel Number (required): The employee's personnel number (up to 255 characters)
- Full Name (required): The employee's full name (up to 50 characters)
- Position (required): The employee's job title (up to 20 characters)
- Email (required): The employee's email address (up to 255 characters). Used to send explanation request emails to the employee.
- Department: The employee's department. If a department was already selected, it is pre-filled. Changing it reassigns the employee to the selected department.
- Locale: The language used for explanation requests and other communications sent by Logpresso Sonar (default: Korean; options: Korean, English, Chinese)
- Username: Links this employee record to a user account (default: none). Select the login name of the account to link from the list.
- Telephone: The employee's phone number (up to 50 characters)
- Address: The employee's residential address (up to 500 characters)
- Mobile: The employee's mobile phone number (up to 50 characters). Used to send SMS explanation requests to the employee.
- Join Date (required): The employee's join date. The current date is entered by default.
- Leave Date: The employee's departure date or expected departure date. Entering a leave date classifies the employee as a departing employee.
- Self-Approval: Whether the employee can directly approve their own explanation requests. This field is only displayed when the self-approval feature is enabled in system settings.
-
Click Save when the information is correct.
Edit an employee
To edit employee information:
-
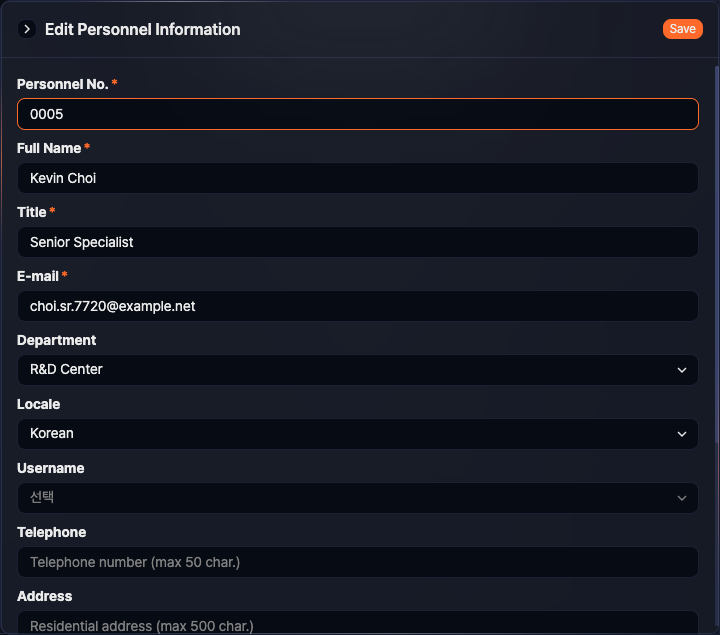
Click on the employee you want to edit under Users > Employees.
-
In the Edit Employee panel, select or enter the updated information.
-
Click Save when the changes are correct.
Delete employees
To delete employees from the list:
-
Select the checkbox of each row containing the employee you want to delete under Users > Employees.
-
Click Delete in the toolbar.

-
In the Delete Employee dialog, review the list of employees to delete and click Delete. Click Cancel to discard.
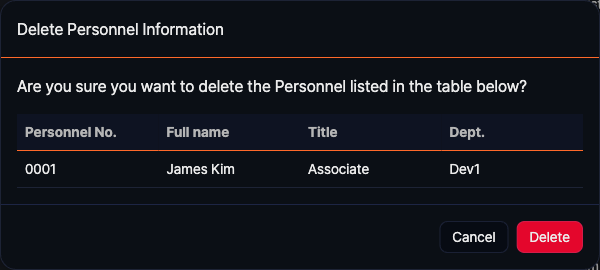
Deleting an employee does not remove related records. For example, the history of explanation requests assigned to the employee is preserved.
Transfer employees
To change an employee's department, you can either edit the employee information or use the toolbar on the employee list.
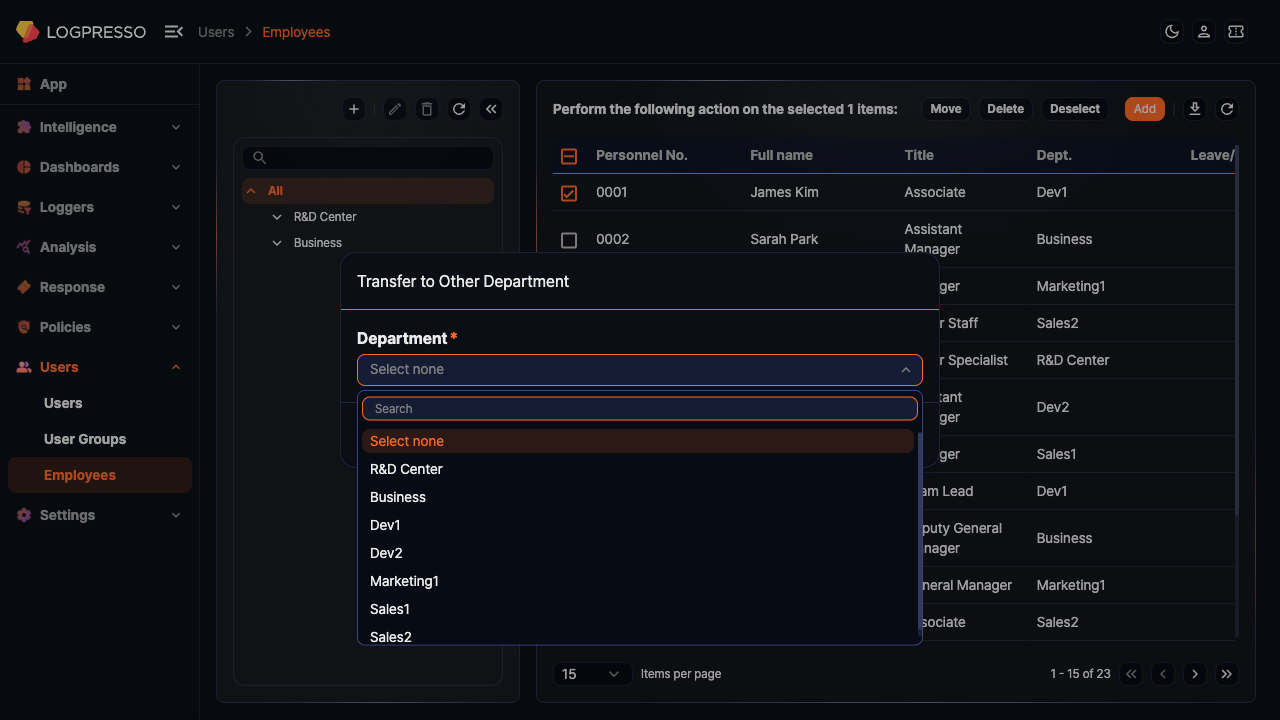
To transfer employees using the toolbar:
-
Select the checkbox of each employee whose department you want to change.
-
Click Transfer in the toolbar.
-
In the Transfer Department dialog, select the target Department and click OK. Click Cancel to discard.
Download employee list
To download the employee list as a file, click ![]() in the toolbar. The download includes employees matching the currently selected department and search conditions. The file contains the following fields: Personnel Number, Full Name, Position, Department, Email, Telephone, Mobile, Address, Join Date, and Leave Date.
in the toolbar. The download includes employees matching the currently selected department and search conditions. The file contains the following fields: Personnel Number, Full Name, Position, Department, Email, Telephone, Mobile, Address, Join Date, and Leave Date.