Tables
Overview
Logpresso Sonar normalizes all data collected from data sources through loggers according to logger models. In this process, the original data, normalized data, and indexes are all stored in tables.
Before you create and use tables, keep the following in mind.
- Table path: In Logpresso queries, you must specify table paths in the
NODE:TABLEformat. - Table partition: Data is stored in tables partitioned by date.
- Data retention: Each table has its own data retention period setting.
Table path
In a Logpresso cluster configuration, node pairs are identified by name and nodes by node ID. When you create a table in the web console, a table with the same name is created on all nodes. When specifying a table as an argument in a Logpresso query, use the following format for the table path.
- You can omit
NODEwhen querying a local table on the node. - In a cluster configuration, specify the table path as follows based on the Storage target setting of the logger.
- If Storage target is Load balanced, collected data is distributed across tables on all nodes, so enter a wildcard (
*) for NODE. - If Storage target is Node pair, collected data is stored in the table of a specific node pair, so enter the node pair name or node ID for NODE.
- If Storage target is Load balanced, collected data is distributed across tables on all nodes, so enter a wildcard (
Table partition
Records written to a table are assigned sequential numbers in the order they are stored and are partitioned by date. You can check partition information in the _id and _era fields of the table command's output fields.
- _id: The sequential number of a record within a partition (a record is the smallest unit of data)
- _era: The partition identifier
Date-based partitioning significantly improves data access speed and management efficiency when storing and analyzing log data. For example, if you want to analyze logs from the past 7 days, you can increase search speed by querying only the partitions for that period.
Data within a table is distributed across multiple storage tiers at the partition level. Run the system count command to check the distribution of data in a table across storage tiers.
Data retention
When you set a retention period for a table, data that exceeds the retention period is automatically deleted.
When creating or editing a table, you can set the data retention period using the Retention period field. The table's retention period is similar to data lifecycle but differs in the following ways.
| Category | Table retention period | Data lifecycle |
|---|---|---|
| Scope | Data in individual tables (local setting) | All data written to storage (global setting) |
| Managed unit | Table partition data | Table partition data |
| When exceeded | Data deleted | Rolled over to a lower storage tier |
| Storage management | Delete old data or stop collection | (1st) Rollover, (2nd) delete or retain permanently |
The data lifecycle and the table retention period operate independently of each other. If either condition is met first, that data may be deleted. For this reason, it is recommended to manage data consistently using one of the following approaches.
- Use data lifecycle only
- When creating tables, leave the retention period at the default setting of "Retain permanently."
- Since data lifecycle is applied as a global setting across all nodes, it is easier to maintain a consistent policy than using table retention periods.
- Use data lifecycle as the primary mechanism and table retention period as a secondary mechanism
- Set the retention duration in the data lifecycle as a global setting.
- Only configure a retention period on individual tables when a specific table needs a shorter retention period.
View table list
You can view the complete list of tables under Settings > Tables. In the Table tree, click an organization name to see the full table list. Click a table name to view its detailed information.
The table group tree appears in the left sidebar. Drag the border between the table group tree and the table list to adjust the sidebar width, or drag it far enough to the left to minimize the tree. This is useful when group or table names are truncated, or when you want to expand the table list. When first opened, the tree shows only the top-level node expanded; click a node to expand its children when needed.
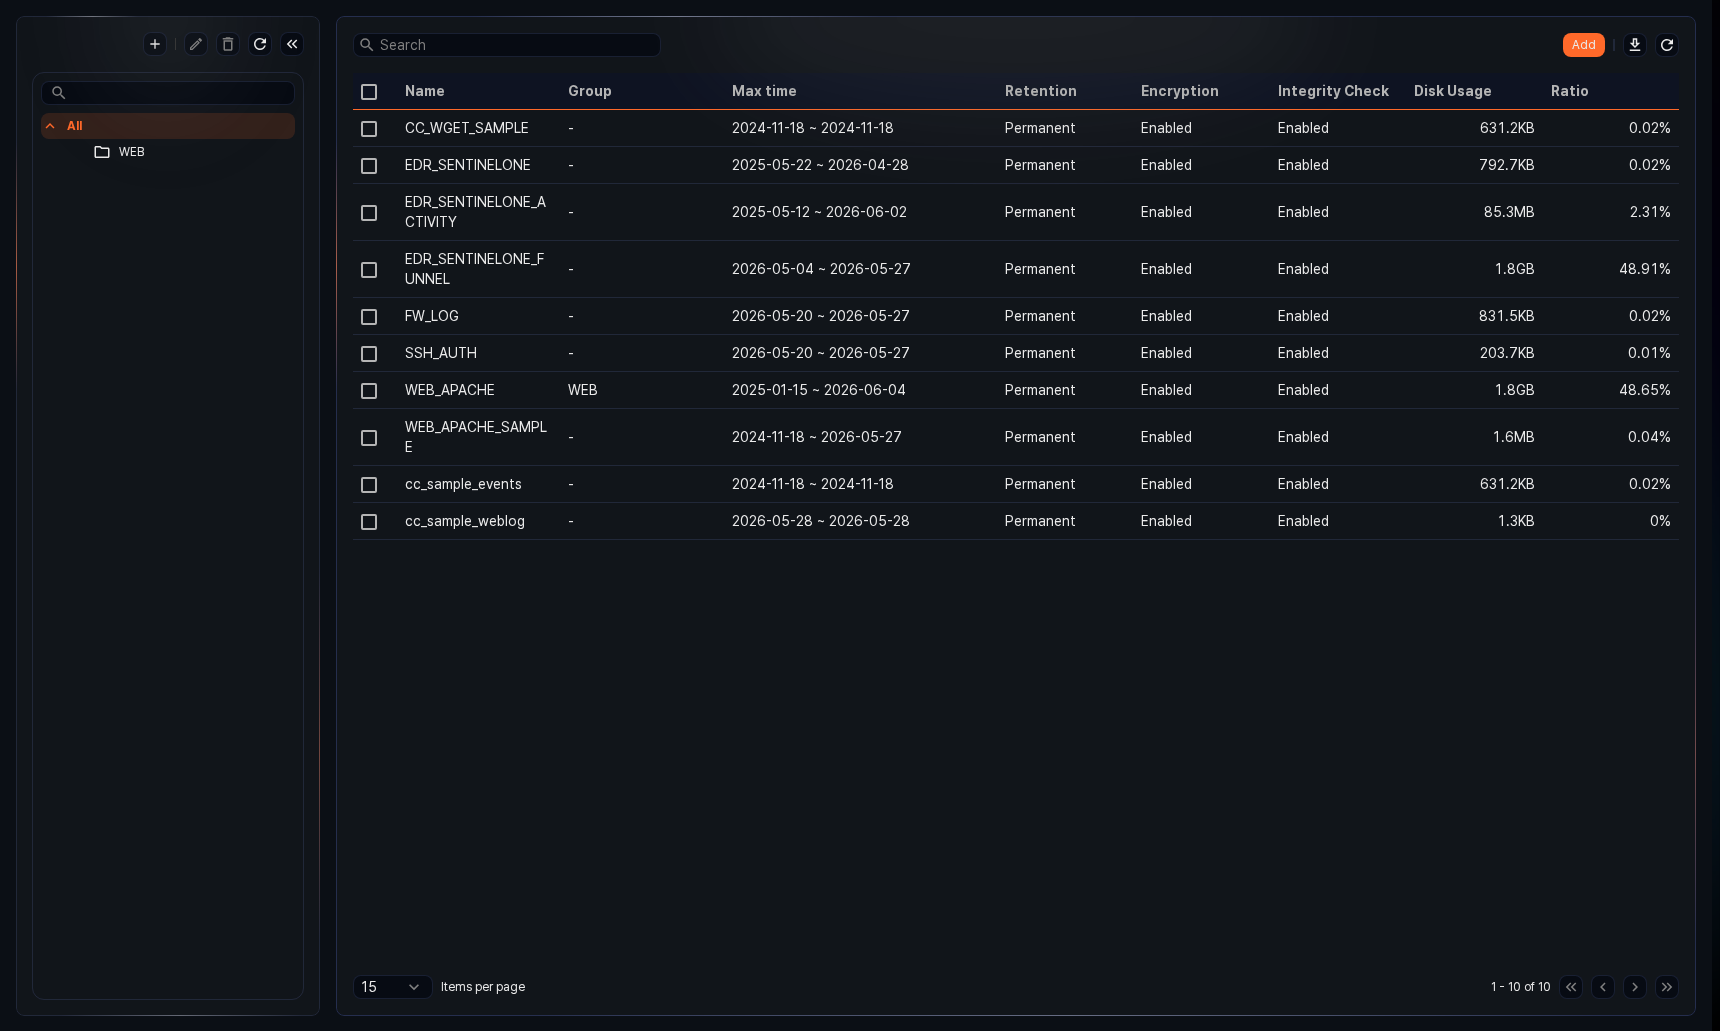
- Name: The unique name of the table
- Group: The name of the table group the table belongs to
- Max time: The date range (earliest to latest) of data recorded in the table
- Retention: The duration for retaining data in the table. Data that exceeds the retention period based on when it was recorded is automatically deleted.
- Encryption: Whether encryption is applied (Enabled / Disabled)
- Integrity verification: Whether integrity verification is applied (Enabled / Disabled)
- Disk usage: The total size of stored data. The value is automatically displayed in
B/KB/MB/GB/TB/PB/EBunits depending on its size. - Ratio: The percentage of total table capacity occupied by this table
The table list shows only data tables where collected data is stored. Running the system tables command lets administrators view all data tables and system tables, while regular users can view only the data tables they have been granted access to.
Both the table tree and the table list support search by table name. Both search features are case-insensitive.
Download table list
To save the table list as a file on your local PC, click ![]() in the upper right of the list.
in the upper right of the list.
Refresh table list
To refresh the table list with the latest information, click ![]() in the upper right of the list.
in the upper right of the list.
Table groups
Use table groups to organize and manage tables by group.
Add table group
To add a table group:
-
In Settings > Tables, click
 above the table group list.
 -
In the Add table group dialog, enter the table group properties.
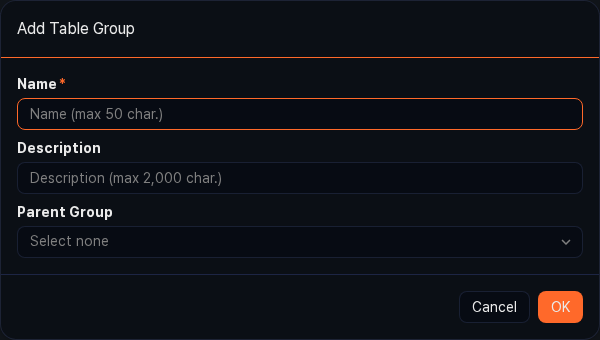
- Name: The name used to identify the table group
- Description: A description of the table group
- Parent group: The parent group for the table group to be added (default: none selected)
-
When you finish the configuration, click OK.
Modify table group
To modify a table group:
-
In the table group list, select the table group you want to modify, then click
 .
. -
In the Modify table group dialog, edit the table group properties and click OK.

Delete table group
To delete a table group:
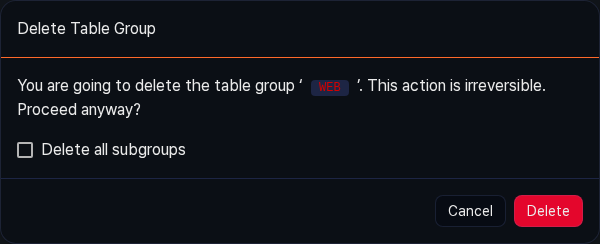
-
In the table group list, select the table group you want to delete, then click
 .
. -
To delete all groups under the table group, select Delete all subgroups in the Delete table group dialog.
Add a table
There are two ways to add a new table.
- Create a table from the table list
- Create a table when adding a logger
To create a new table from the table list, click the Add button in the toolbar. When the Add table panel opens on the right, set the table's Name, Encryption, and Retention, then click Save to add the table.
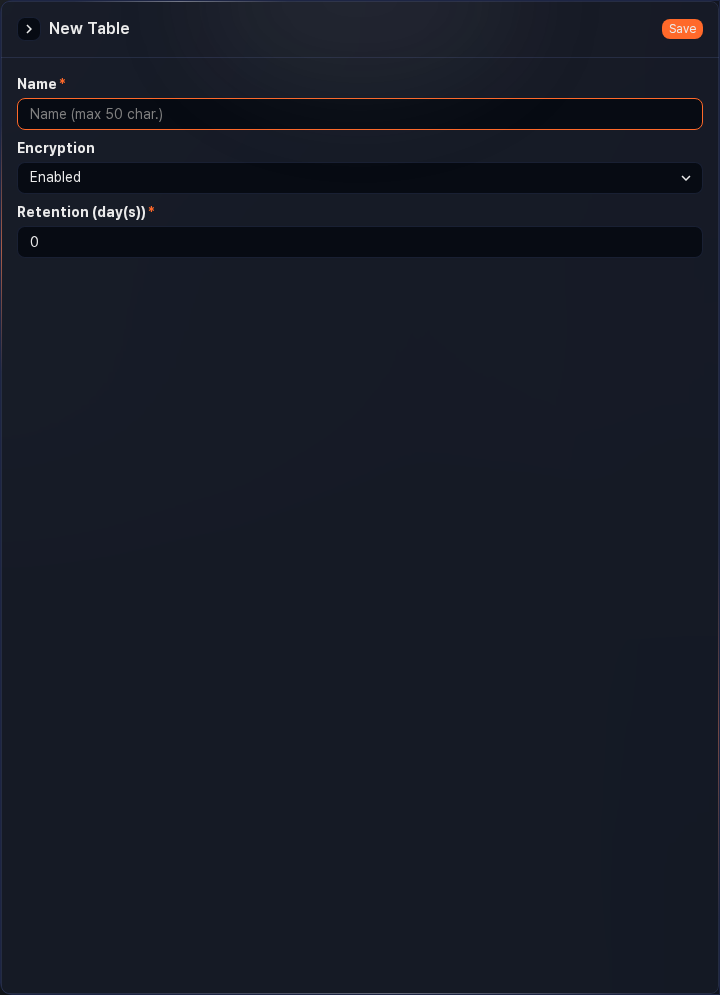
- Name: The unique name of the table (up to 50 characters). Only letters, numbers, hyphens (
-), and underscores (_) are allowed. The name cannot be changed after creation. - Encryption: Select whether to encrypt data and apply integrity verification — Enabled or Disabled (default: Enabled). This setting cannot be changed after creation.
- Retention: The duration for retaining data in the table (default:
0). The table's retention period and the data lifecycle defined for the cluster operate independently. If either condition is met, the data is deleted. To manage data based on the cluster's data lifecycle, set the table's retention period to "0" (retain permanently).
View table information
Click a table in table groups to view the detailed information for that table.
The table properties screen consists of three tabs.
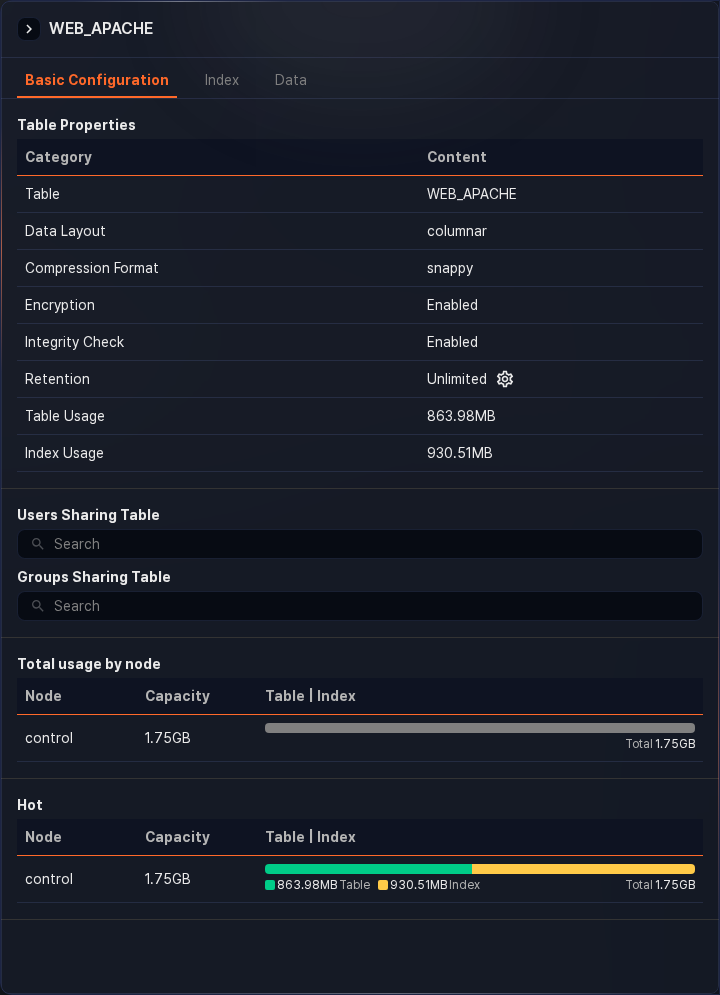
- Basic configuration
- Displays table properties, access permissions, and disk usage per node.
- In the Table properties section, you can change the Retention period. The unit is days.
- In the Users sharing table and Groups sharing table fields, you can grant table read access by account or account group.
- Total usage by node shows the disk usage of tables and indexes for each node in the Logpresso Sonar cluster.
- Index
- Displays index information configured for the table.
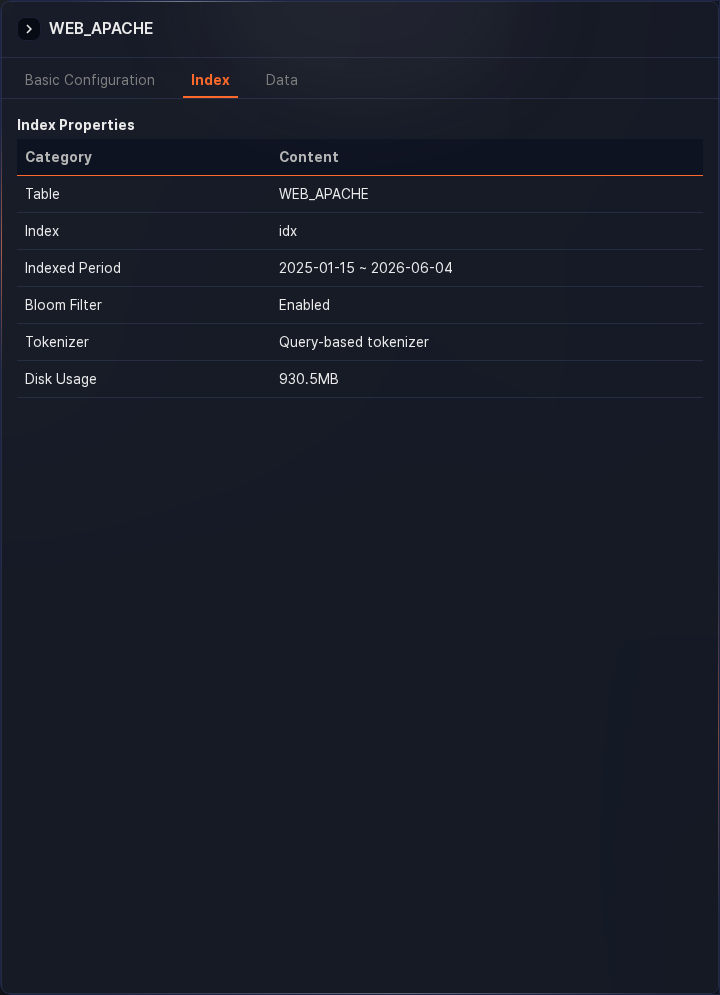
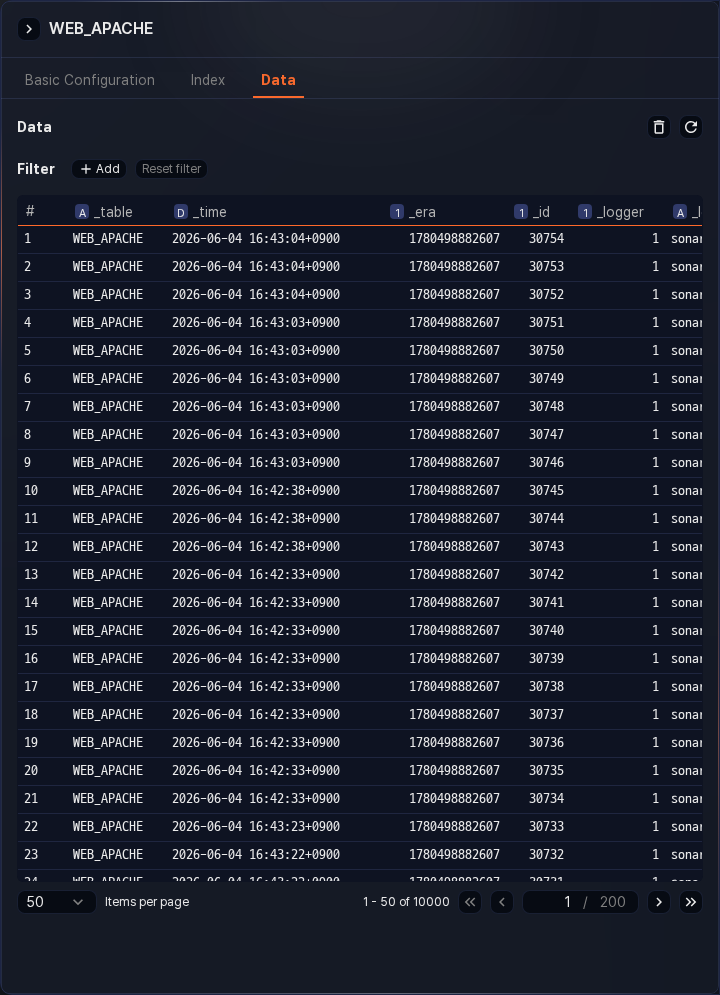
- Data
- Lets you preview up to 10,000 of the most recently recorded records in the table.
Change retention period
In the Basic configuration tab of the table view screen, click the value for Retention period. When the Retention period settings dialog opens, you can change the data retention period to your desired value.
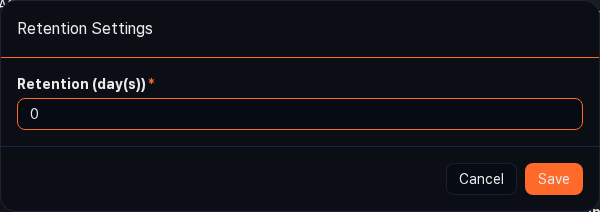
- The retention period can be set up to 99,999 days. The default value is "0" (retain permanently).
Table access control
In the Basic configuration tab of the table view screen, use the Users sharing table and Groups sharing table fields to specify the accounts or account groups to grant table read access. Type a search term in a field, then select an item from the suggestions to add it; added items appear as chips. Click delete on a chip to remove that shared target.
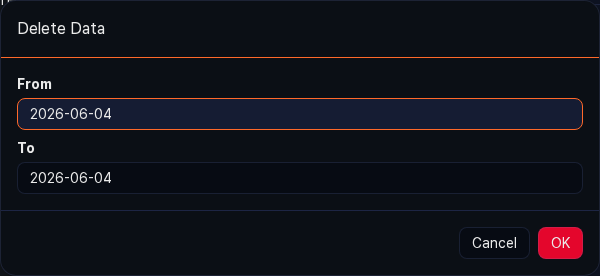
Delete data from a table
In the Data tab of the table view screen, click ![]() to display the Delete data dialog. The deletion criterion is the time the data was recorded. Specify the desired period to delete data recorded at that time.
to display the Delete data dialog. The deletion criterion is the time the data was recorded. Specify the desired period to delete data recorded at that time.
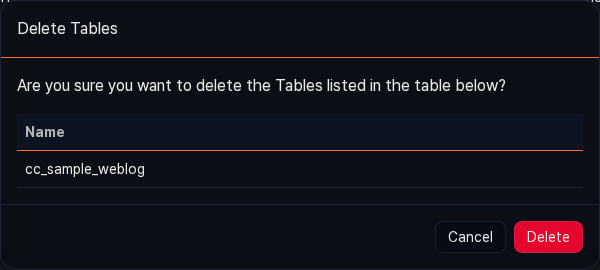
Delete a table
To delete a table, select the table you want to delete from the table list, then click the Delete button in the upper right of the list. In the Delete table dialog, click Delete to remove the table along with all logs and indexes stored in it.