Indicator of Compromise
Overview
Indicators of Compromise (IOCs) are a feature for managing the IP addresses, domains, URLs, MD5 hashes, and email addresses that must be tracked during threat response. Under Policies > Indicators, security analysts can register collected threat intelligence in one place and prioritize them by reviewing risk level, reputation, and processing status together.
Registered indicators can be used with playbook trigger conditions to feed into follow-up response workflows. All users, including administrators, can view the indicator list, add new indicators, change risk levels, and delete indicators.
View/search indicators
You can view or search the indicator list under Policies > Indicators.
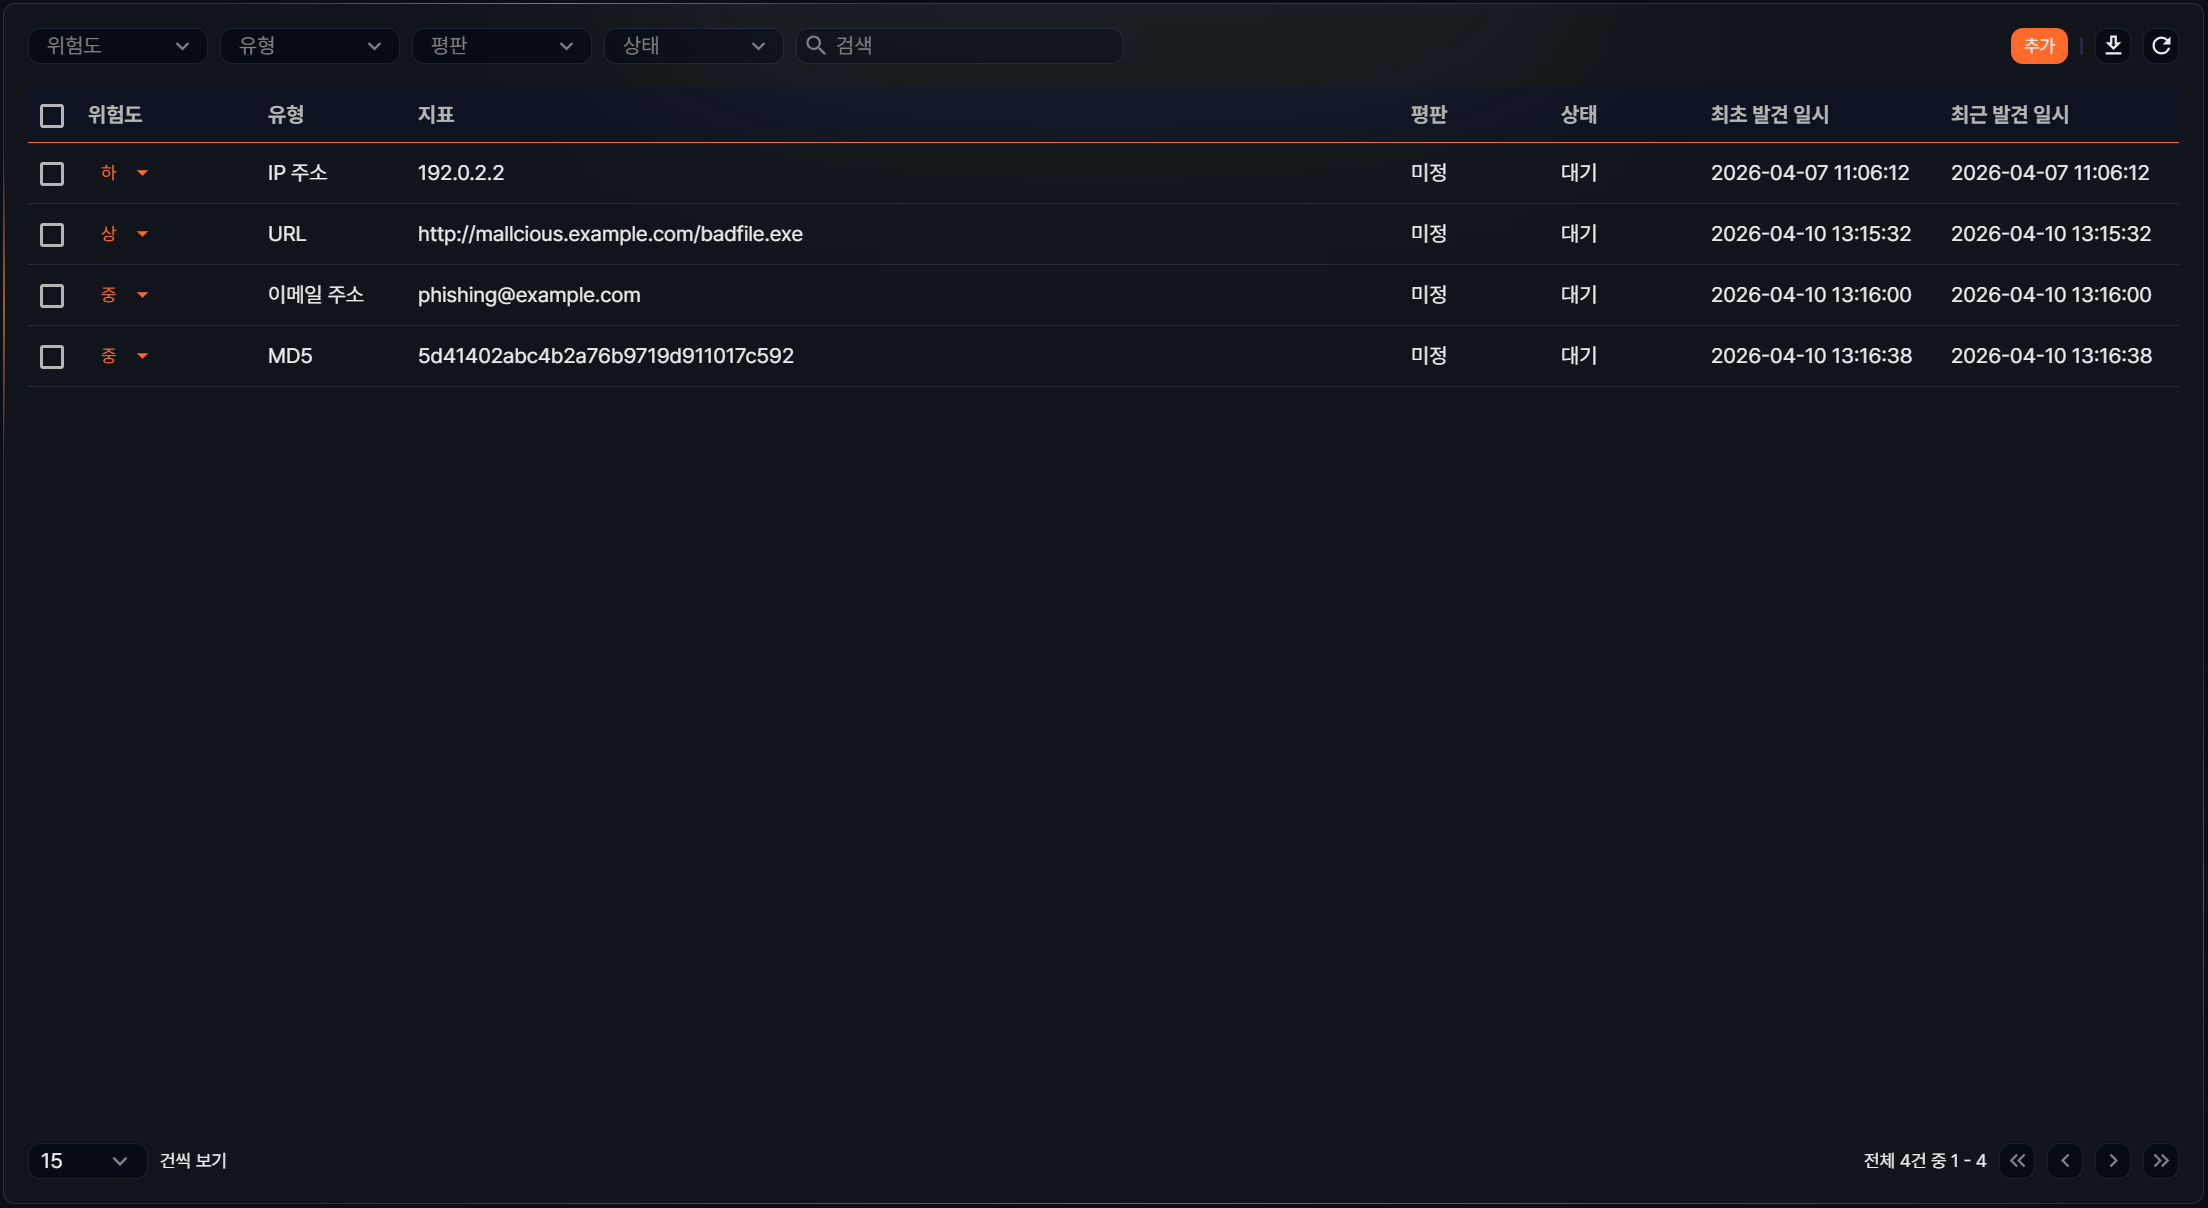
- Risk Level: Risk level of the indicator. You can change the value using the dropdown on each row (options: Benign, Low, Medium, High).
- Type: Indicator type (options: IP address, Domain, URL, MD5, Email address).
- Indicator: The registered indicator value.
- Reputation: Reputation classification result (options: Benign, Suspicious, Malicious, Unknown, Pending).
- Status: Processing status (options: Pending, Completed, Error, Retry).
- First Seen: Date and time this indicator was first identified.
- Last Seen: Date and time this indicator was most recently identified.
At the top of the list, you can use the search tool and filter dropdowns together. Filters are provided by Risk Level, Type, Reputation, and Status, and you can combine conditions to narrow down the indicators you need.
Download list
To save the indicator list to your local PC, click ![]() in the toolbar. The downloaded file includes Risk Level, Type, Indicator, Reputation, Status, First Seen, and Last Seen.
in the toolbar. The downloaded file includes Risk Level, Type, Indicator, Reputation, Status, First Seen, and Last Seen.
Refresh list
To reload the indicator list with the latest data, click ![]() in the toolbar.
in the toolbar.
Add an indicator
To register a value confirmed from external threat intelligence or an investigation as a new indicator, follow these steps.
-
Under Policies > Indicators, click Add.
-
In the Add Indicator side panel that opens on the right, enter the following details.

- Type: Indicator type (required, default: Domain, options: IP address, Domain, URL, MD5, Email address).
- Value: The indicator value corresponding to the type (required).
-
Review the information and click Save.
Change indicator risk level
To adjust the detection priority or response intensity, change the risk level of an indicator. Risk levels can be changed individually or for multiple indicators at once.
Change risk level individually
To change the risk level of a single indicator, click the current value in the Risk Level column of the list and select the desired value.
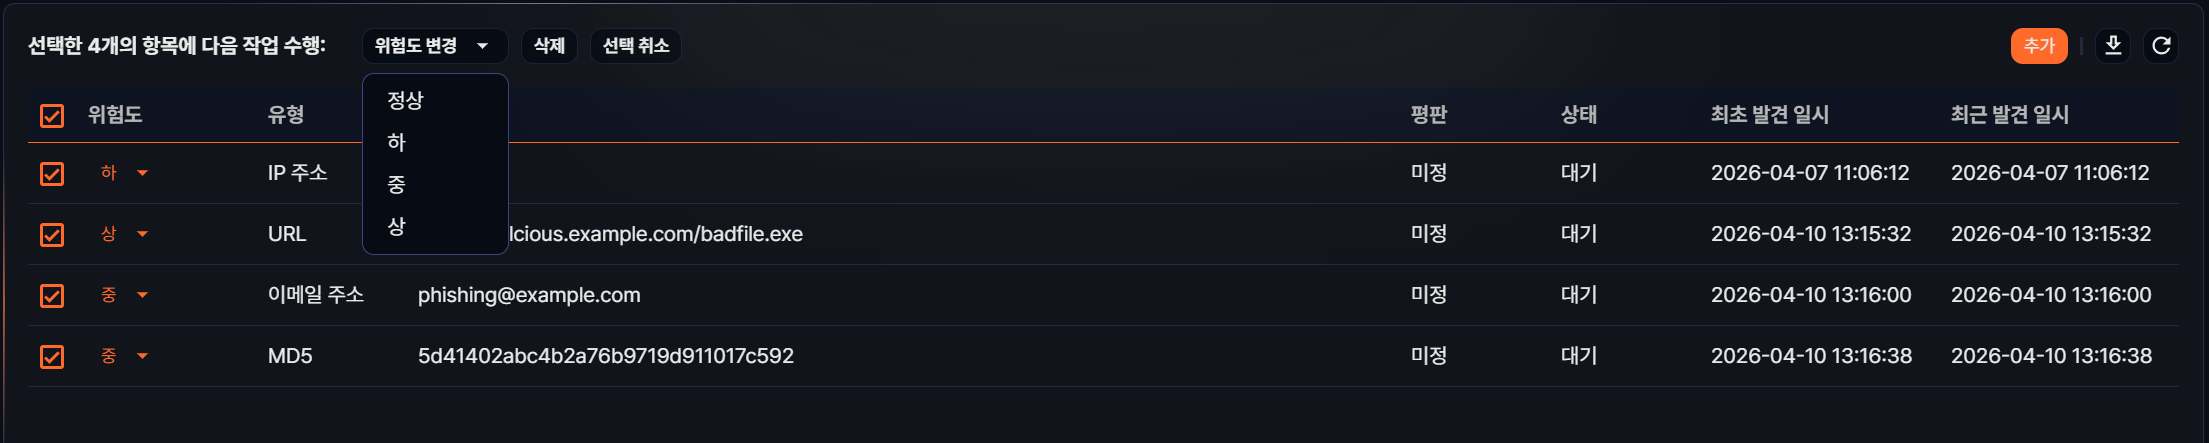
Bulk change risk level
To adjust the risk level of multiple indicators at once, follow these steps.
- Select the checkboxes of the indicators you want to change in the list.
- Click Change Risk Level in the action area that appears at the top.
- Select the desired risk level (options: Benign, Low, Medium, High).
Delete an indicator
To clean up indicators that are no longer being managed, follow these steps.
- Select the checkboxes of the indicators to delete in the list.
- Click Delete in the action area at the top.
- In the Confirm Indicator Deletion dialog, confirm the targets to delete and click Delete.
Use indicators
Added indicators can be used in the following workflow.
Playbooks
In playbooks, you can select an indicator-related condition from among the trigger types. This lets you connect a workflow related to a specific indicator to a playbook trigger condition and integrate it with follow-up automation or operational procedures.