Signatures
Overview
A signature is metadata that assigns a name and attack classification to a threat pattern identified by a detection rule. When you connect a signature app to a Stream Rule or Batch Rule scenario, the system automatically looks up the registered signature based on the signature field value of detected events and attaches CAPEC (Common Attack Pattern Enumeration and Classification) IDs to those events. The mapped CAPEC information is then used to calculate the risk score of events. Because CAPEC defines the severity of attack patterns, signatures with CAPEC mappings produce more accurate risk scores — combining asset value, attack impact, and attack likelihood — which you can use to prioritize responses or automatically create tickets.
Signatures are typically provided as built-in signatures bundled with an app alongside detection rules. For example, the Suricata app includes built-in signature names and CAPEC mappings for its IDS rules, so signatures are added automatically when you install the app without any manual registration. Built-in signatures provided by apps cannot be edited; you can only view them.
To use a unique signature for a custom detection rule, register the signature directly on this page. You can also upload a CSV file to register signatures in bulk.
In the signature list, clicking a CAPEC tag navigates to the CAPEC detail page, where you can review the execution flow, preconditions, and countermeasures for the attack pattern.
Viewing and searching the signature list
You can view or search the signature list at Policies > Signatures.
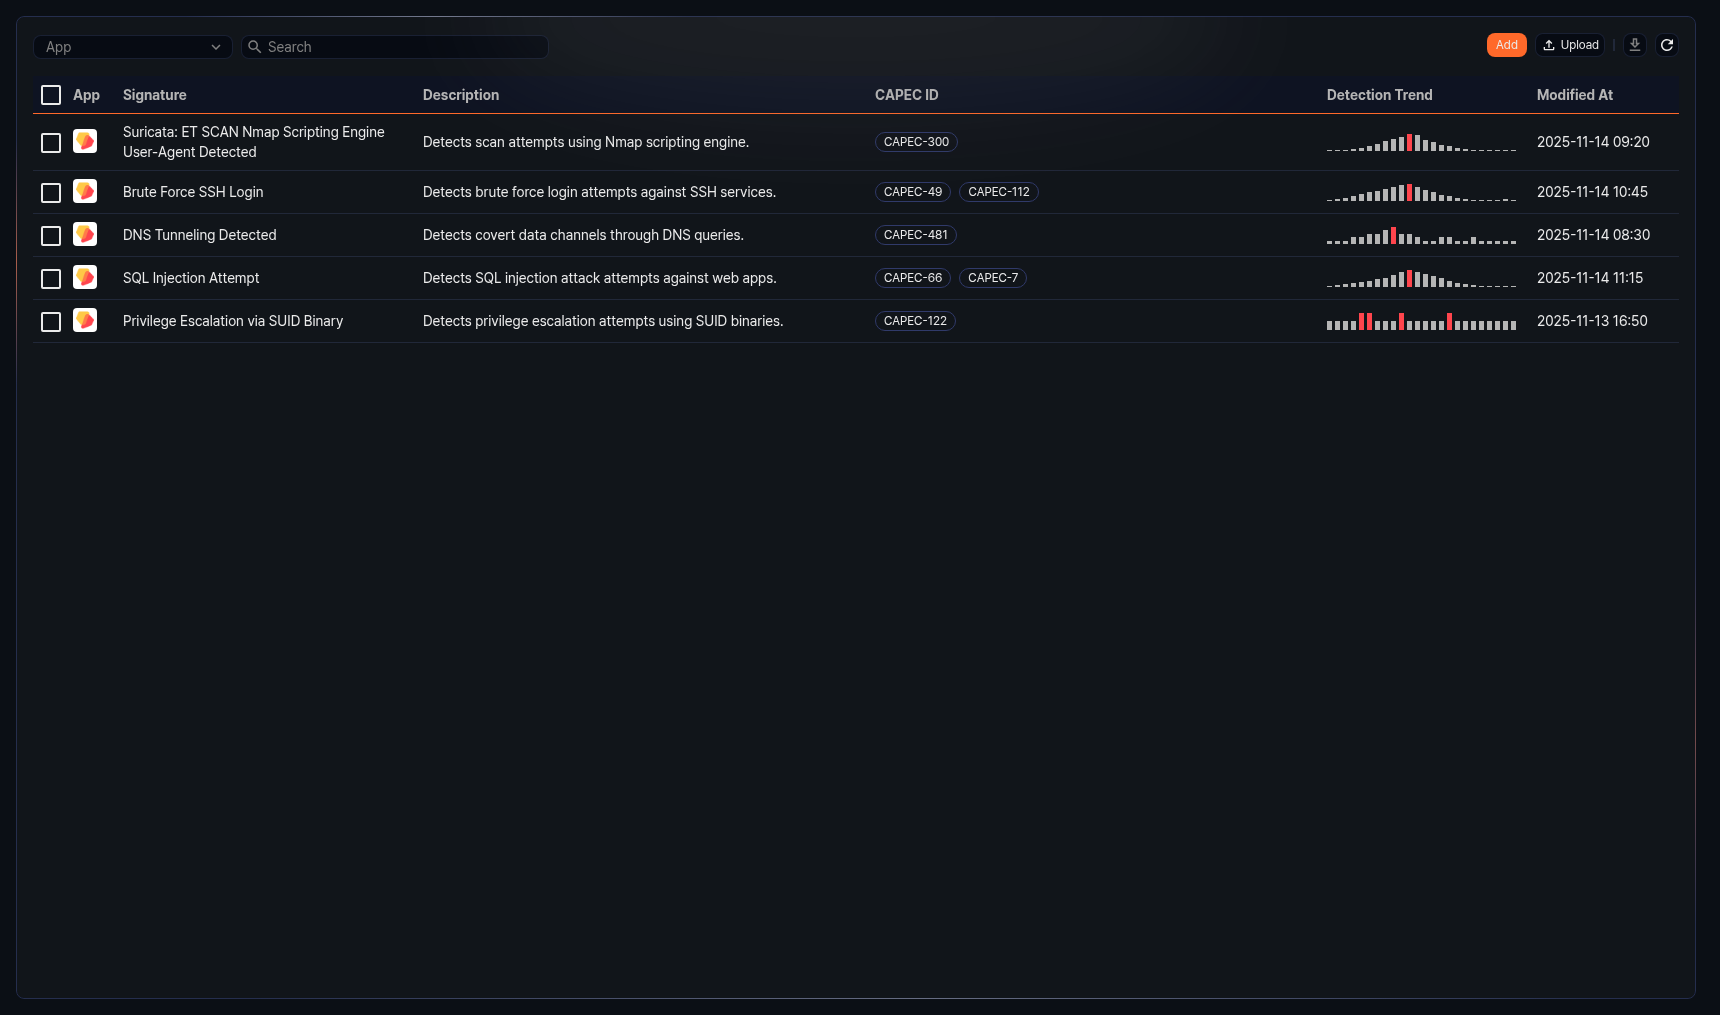
The signature list displays the following information:
- App: The icon of the app the signature belongs to
- Signature: The signature name
- Description: A description of the signature
- CAPEC ID: A list of CAPEC IDs mapped to the signature. Click each tag to go to the corresponding CAPEC detail page.
- Detection Trend: A bar chart of recent detection counts. The bar with the highest value is highlighted in red. Hover over a bar to see the time and detection count for that period.
- Modified At: The date and time the signature was last modified (yyyy-MM-dd HH:mm format)
To filter the list by app, select an app from the App dropdown in the toolbar. Only signatures belonging to that app are displayed.
To find a specific signature, use the search tool in the toolbar. The search returns signatures whose names contain the keyword you enter.
Refreshing the list
To refresh the signature list with the latest data, click ![]() in the toolbar.
in the toolbar.
Downloading signatures
To download the signature list as a file, click ![]() in the toolbar. In the download dialog, select the file format and the fields to include, then click Download to save the file.
in the toolbar. In the download dialog, select the file format and the fields to include, then click Download to save the file.
Adding a signature
To add a signature:
-
On Policies > Signatures, click Add in the toolbar.
-
The New Signature panel opens on the right side of the screen. Configure the following fields:
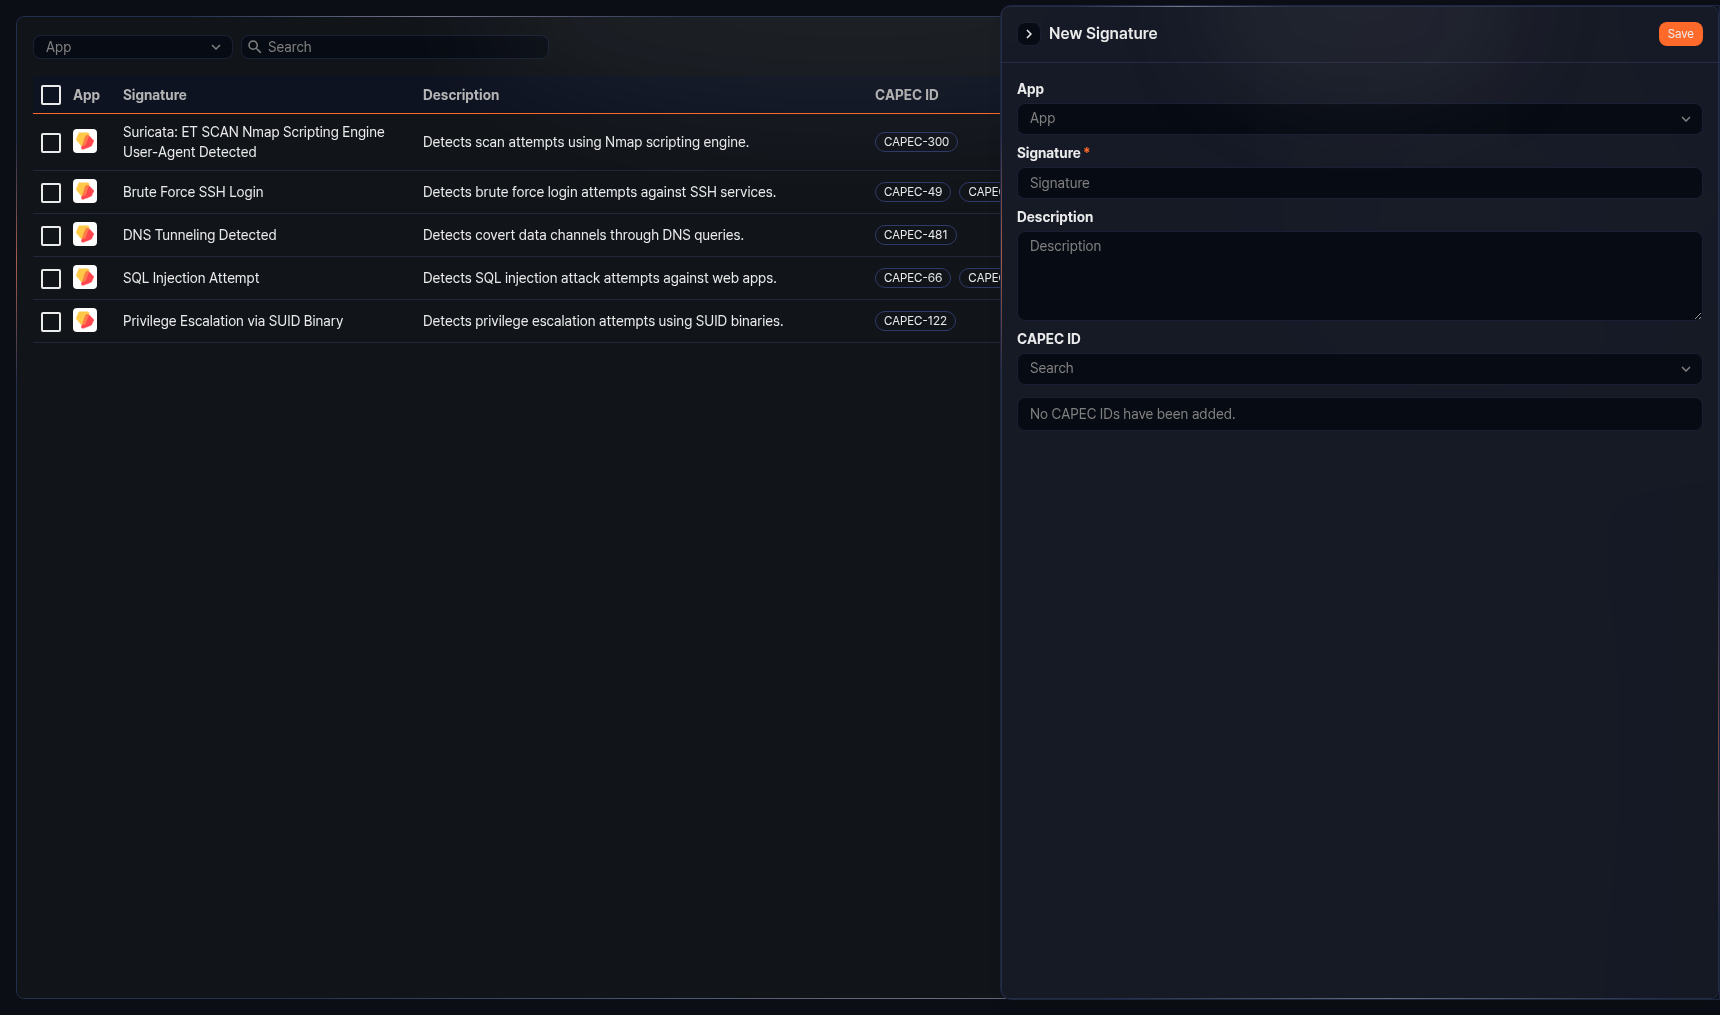
- App: Select the app the signature will belong to.
- Signature: Enter the signature name (required, up to 500 characters). Names consisting only of whitespace are not allowed, and the name must be unique.
- Description: Enter a description of the signature (up to 2,000 characters).
- CAPEC ID: Search for and select CAPEC IDs to map to the signature. You can add multiple CAPEC IDs. Added CAPEC IDs are displayed as tags; click the remove button on a tag to unmap it.
-
Click Save.
Editing a signature
To edit a signature:
- On Policies > Signatures, click the row of the signature you want to edit.
- The Edit Signature panel opens on the right side of the screen. Modify the fields as needed. The available fields are the same as in Adding a signature.
- Click Save.
Deleting signatures
To delete signatures:
-
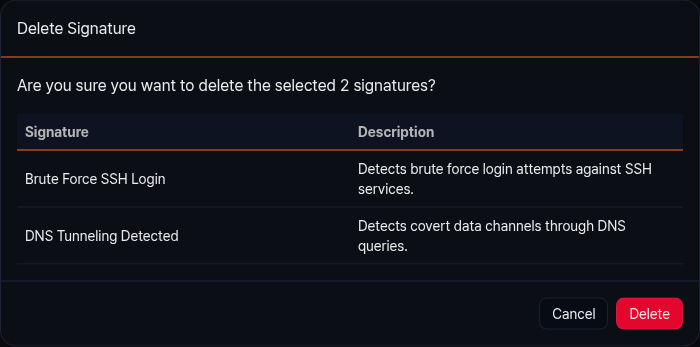
On Policies > Signatures, select the checkboxes of the signatures you want to delete. You can select multiple signatures for bulk deletion.
-
Click Delete in the toolbar.
-
In the delete confirmation dialog, verify the names and descriptions of the signatures to be deleted, then click Delete.
Uploading signatures
You can upload a CSV file to register signatures in bulk. If any signature name in the file matches an existing signature, that signature is updated.
To upload signatures:
-
On Policies > Signatures, click Upload in the toolbar.
-
The Upload Signatures dialog opens. Configure the following fields:
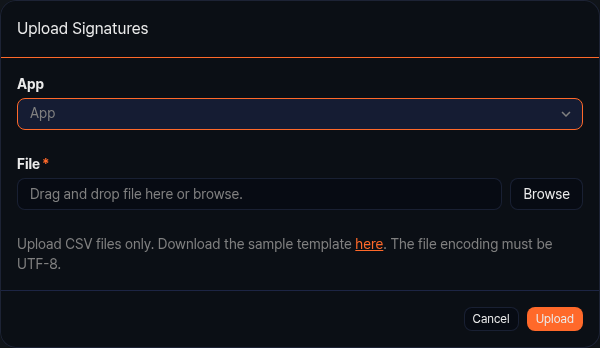
- App: Select the app the signatures will belong to.
- File: Select the CSV file to upload (required). Only CSV files are accepted, and the file encoding must be UTF-8. Click the sample link in the dialog to download a template file. Each signature name can be up to 500 characters.
-
Click Upload.
-
When the upload is complete, the results are displayed. Review the counts of added, updated, and failed entries, then click OK.